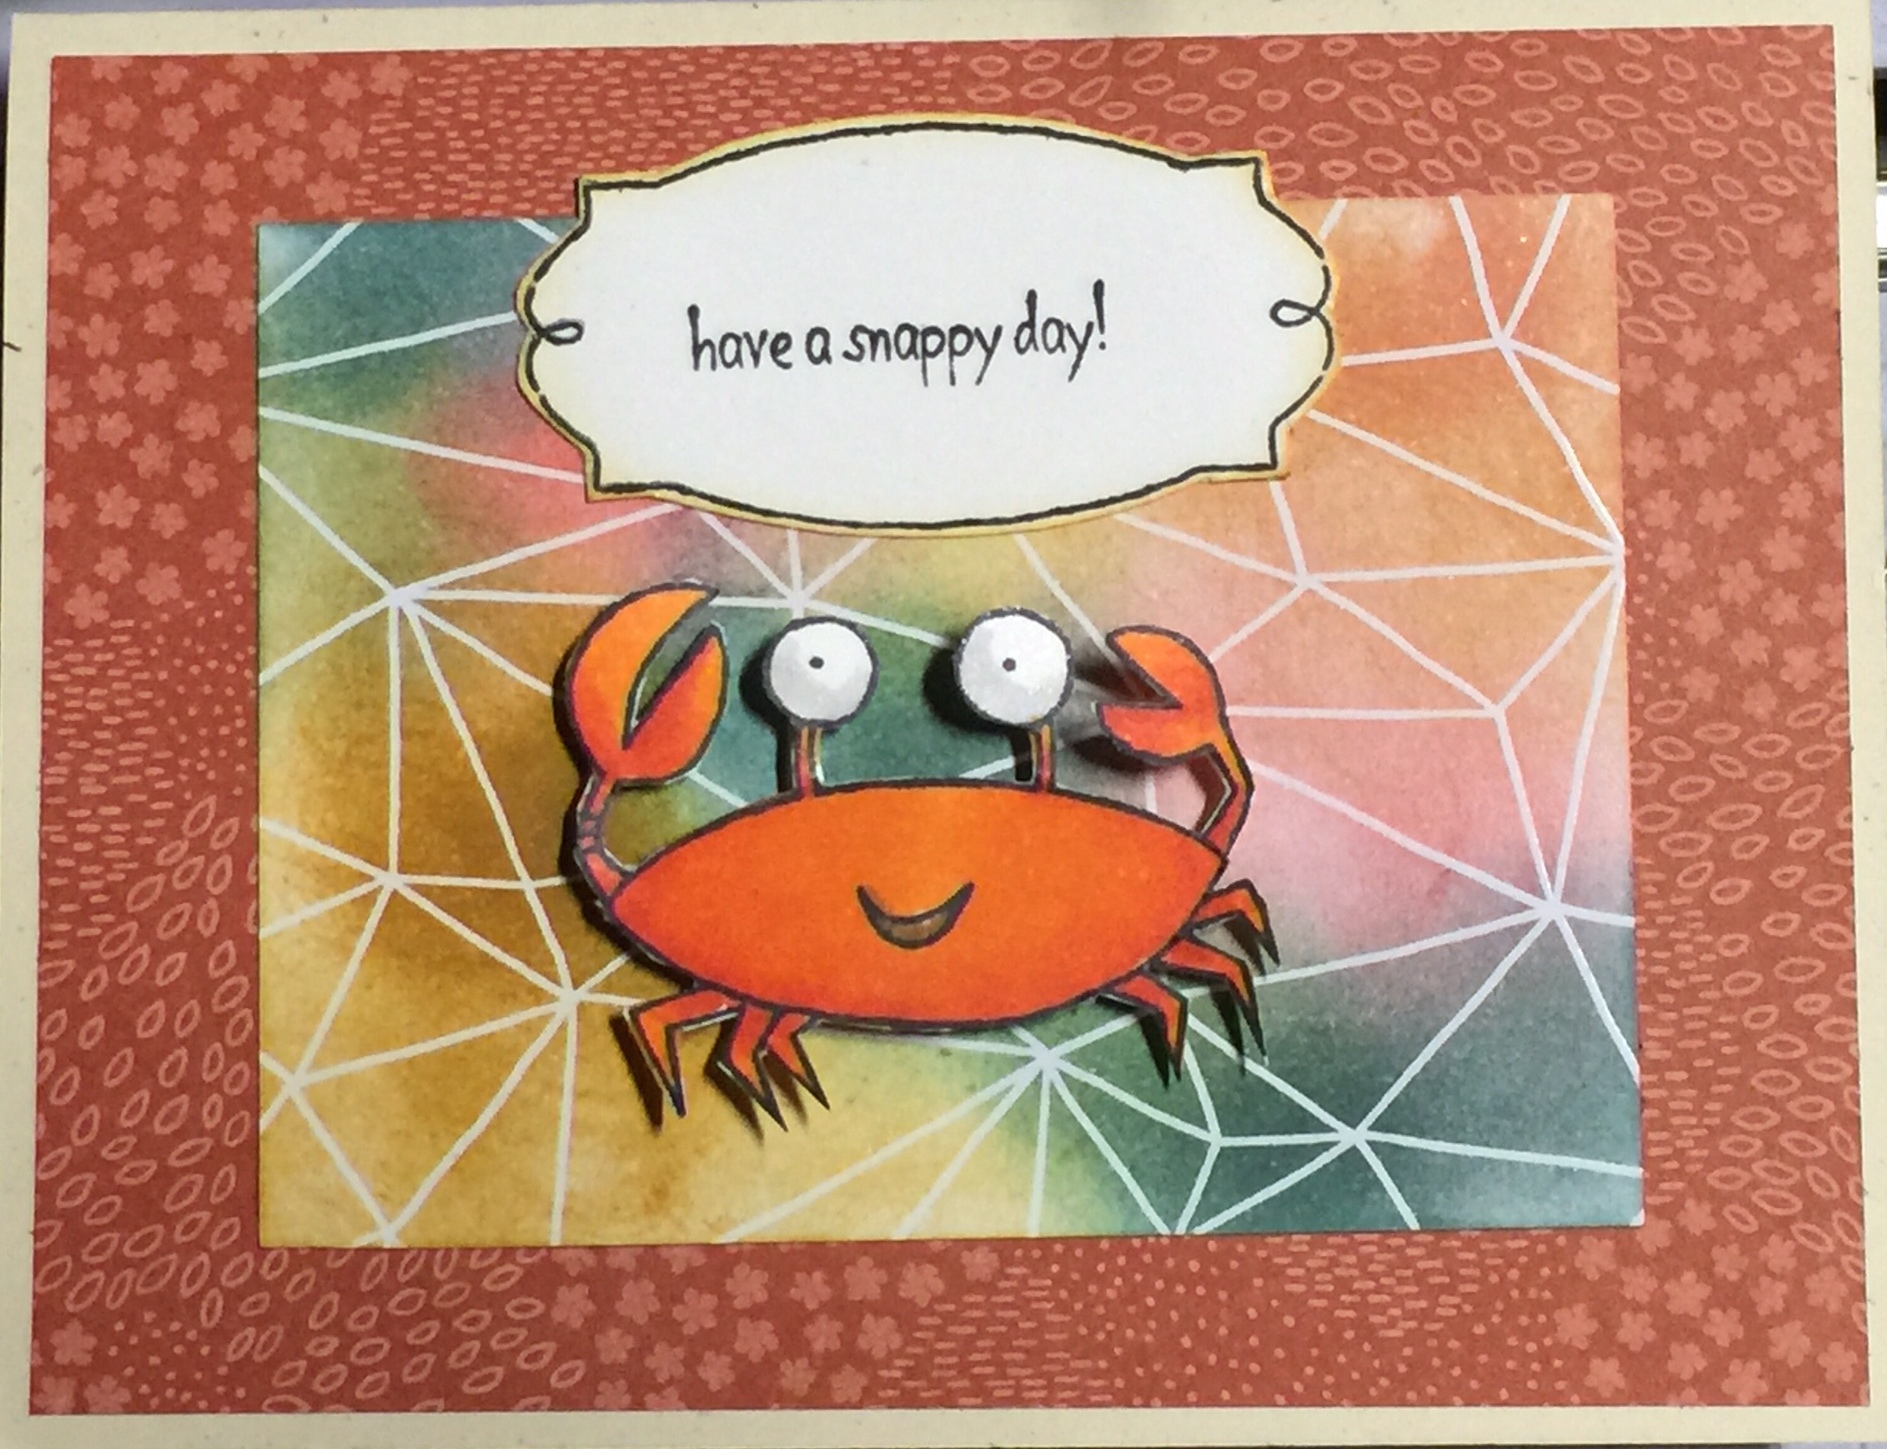
Sometimes I am on the GO and along the way have some down time. What to do? While thinking about this, I came up with a Basic Stamping Kit to have with me for just such an occasion. Now I do have all of these things at home, because I have been stamping for over 10 years, but just in case you are a beginner, I have put together a list of Stampin’ Up products that you would need to create this “Stamping on the Go” kit. (see attachment)
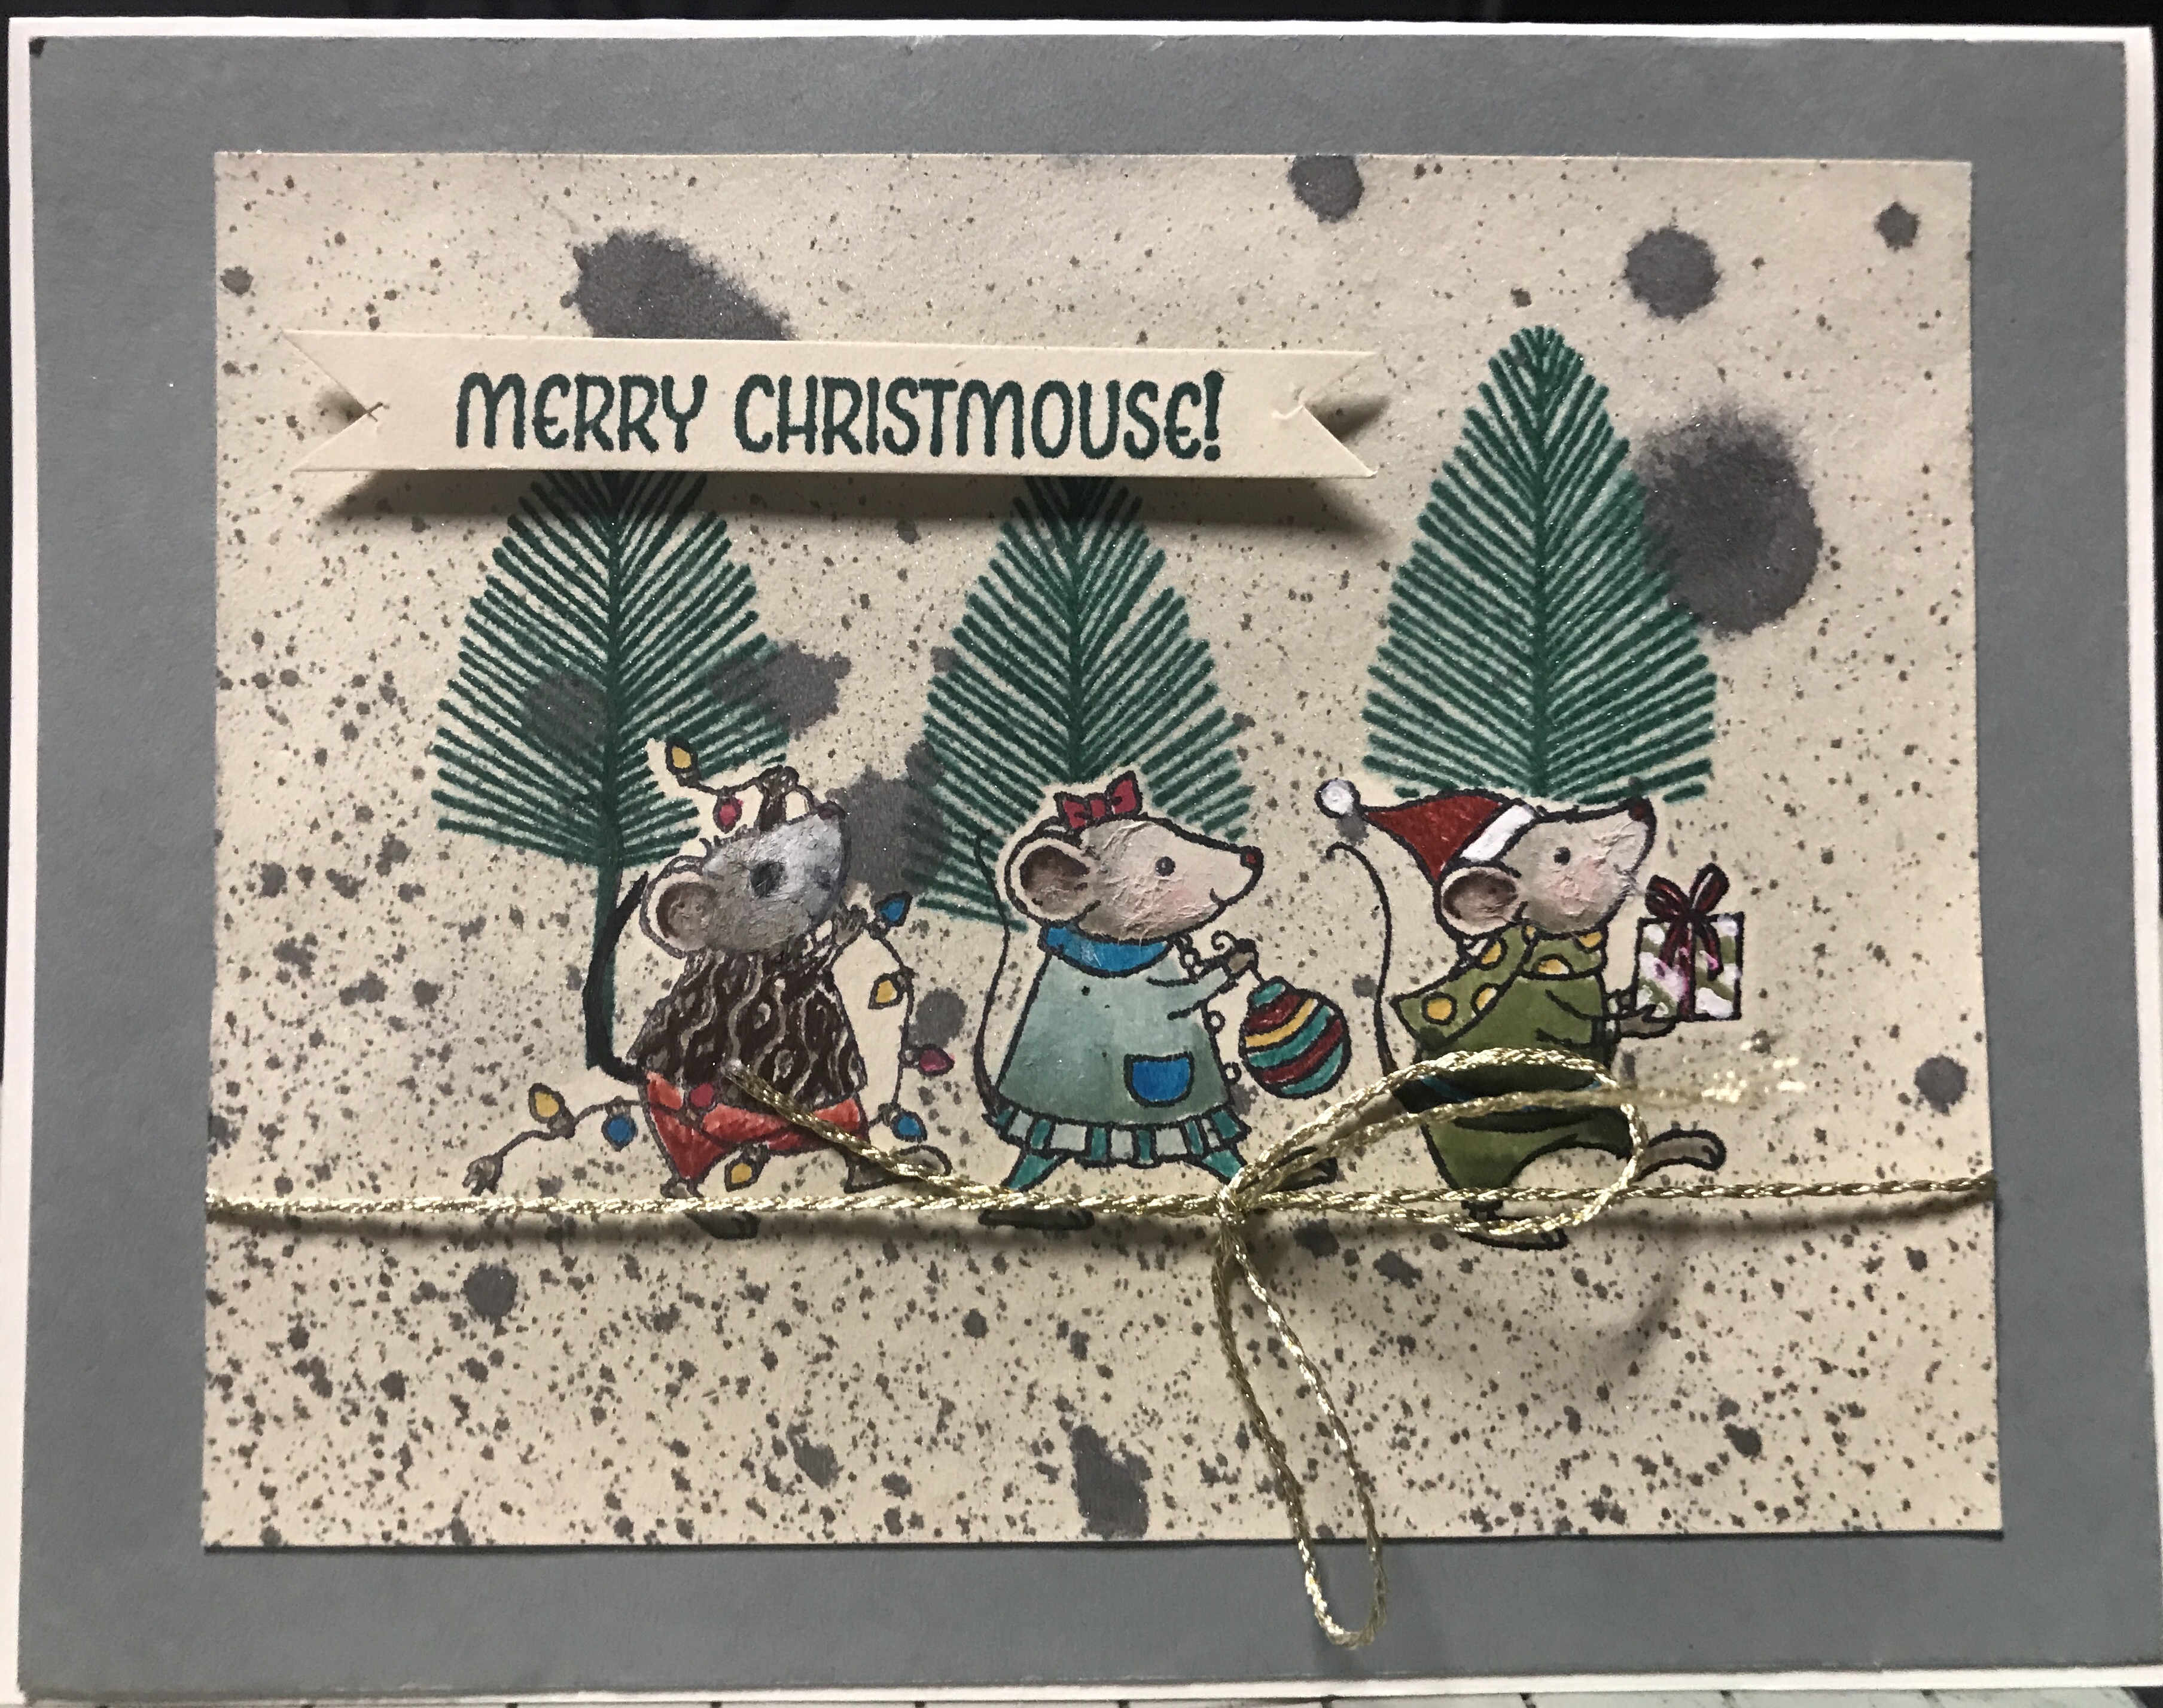
Here is what my “basic” kit would include: 2 sheets each of very vanilla and whisper white cardstock cut in half and folded in half (8 card bases) plus another sheet of each color cut to 5″x 3-3/4″, matching envelopes (4 each color), Sponge Daubers, Black pen, Stamp Pads (Black, Chocolate Chip, Old Olive, Night of Navy, Real Red, Crushed Curry), matching cardstock, cut to 5-1/4″ x 4″ (4 sheets each), Snail adhesive and a refill, Stampin’ Dimensionals, Paper Snips, Clear “E” block (I mostly use photopolymer stamps), Stampin’ Mist and a Stampin’ Scrub. These would probably all fit in a shoe-box size container. I would also pull a couple of my favorite stamps for birthdays or florals. That would keep me busy for several hours at least! I do like to layer my cards, hence the colored card stock cut to size – so the card would be the base, a colored layer, and then another layer the same color as the base which I would stamp on. I also stamp the back flap and front corner of the envelope with a coordinating image from the stamp set.
Now that you have seen MY “Basic Stamping Kit”, what would YOU use to Stamp on the Go?

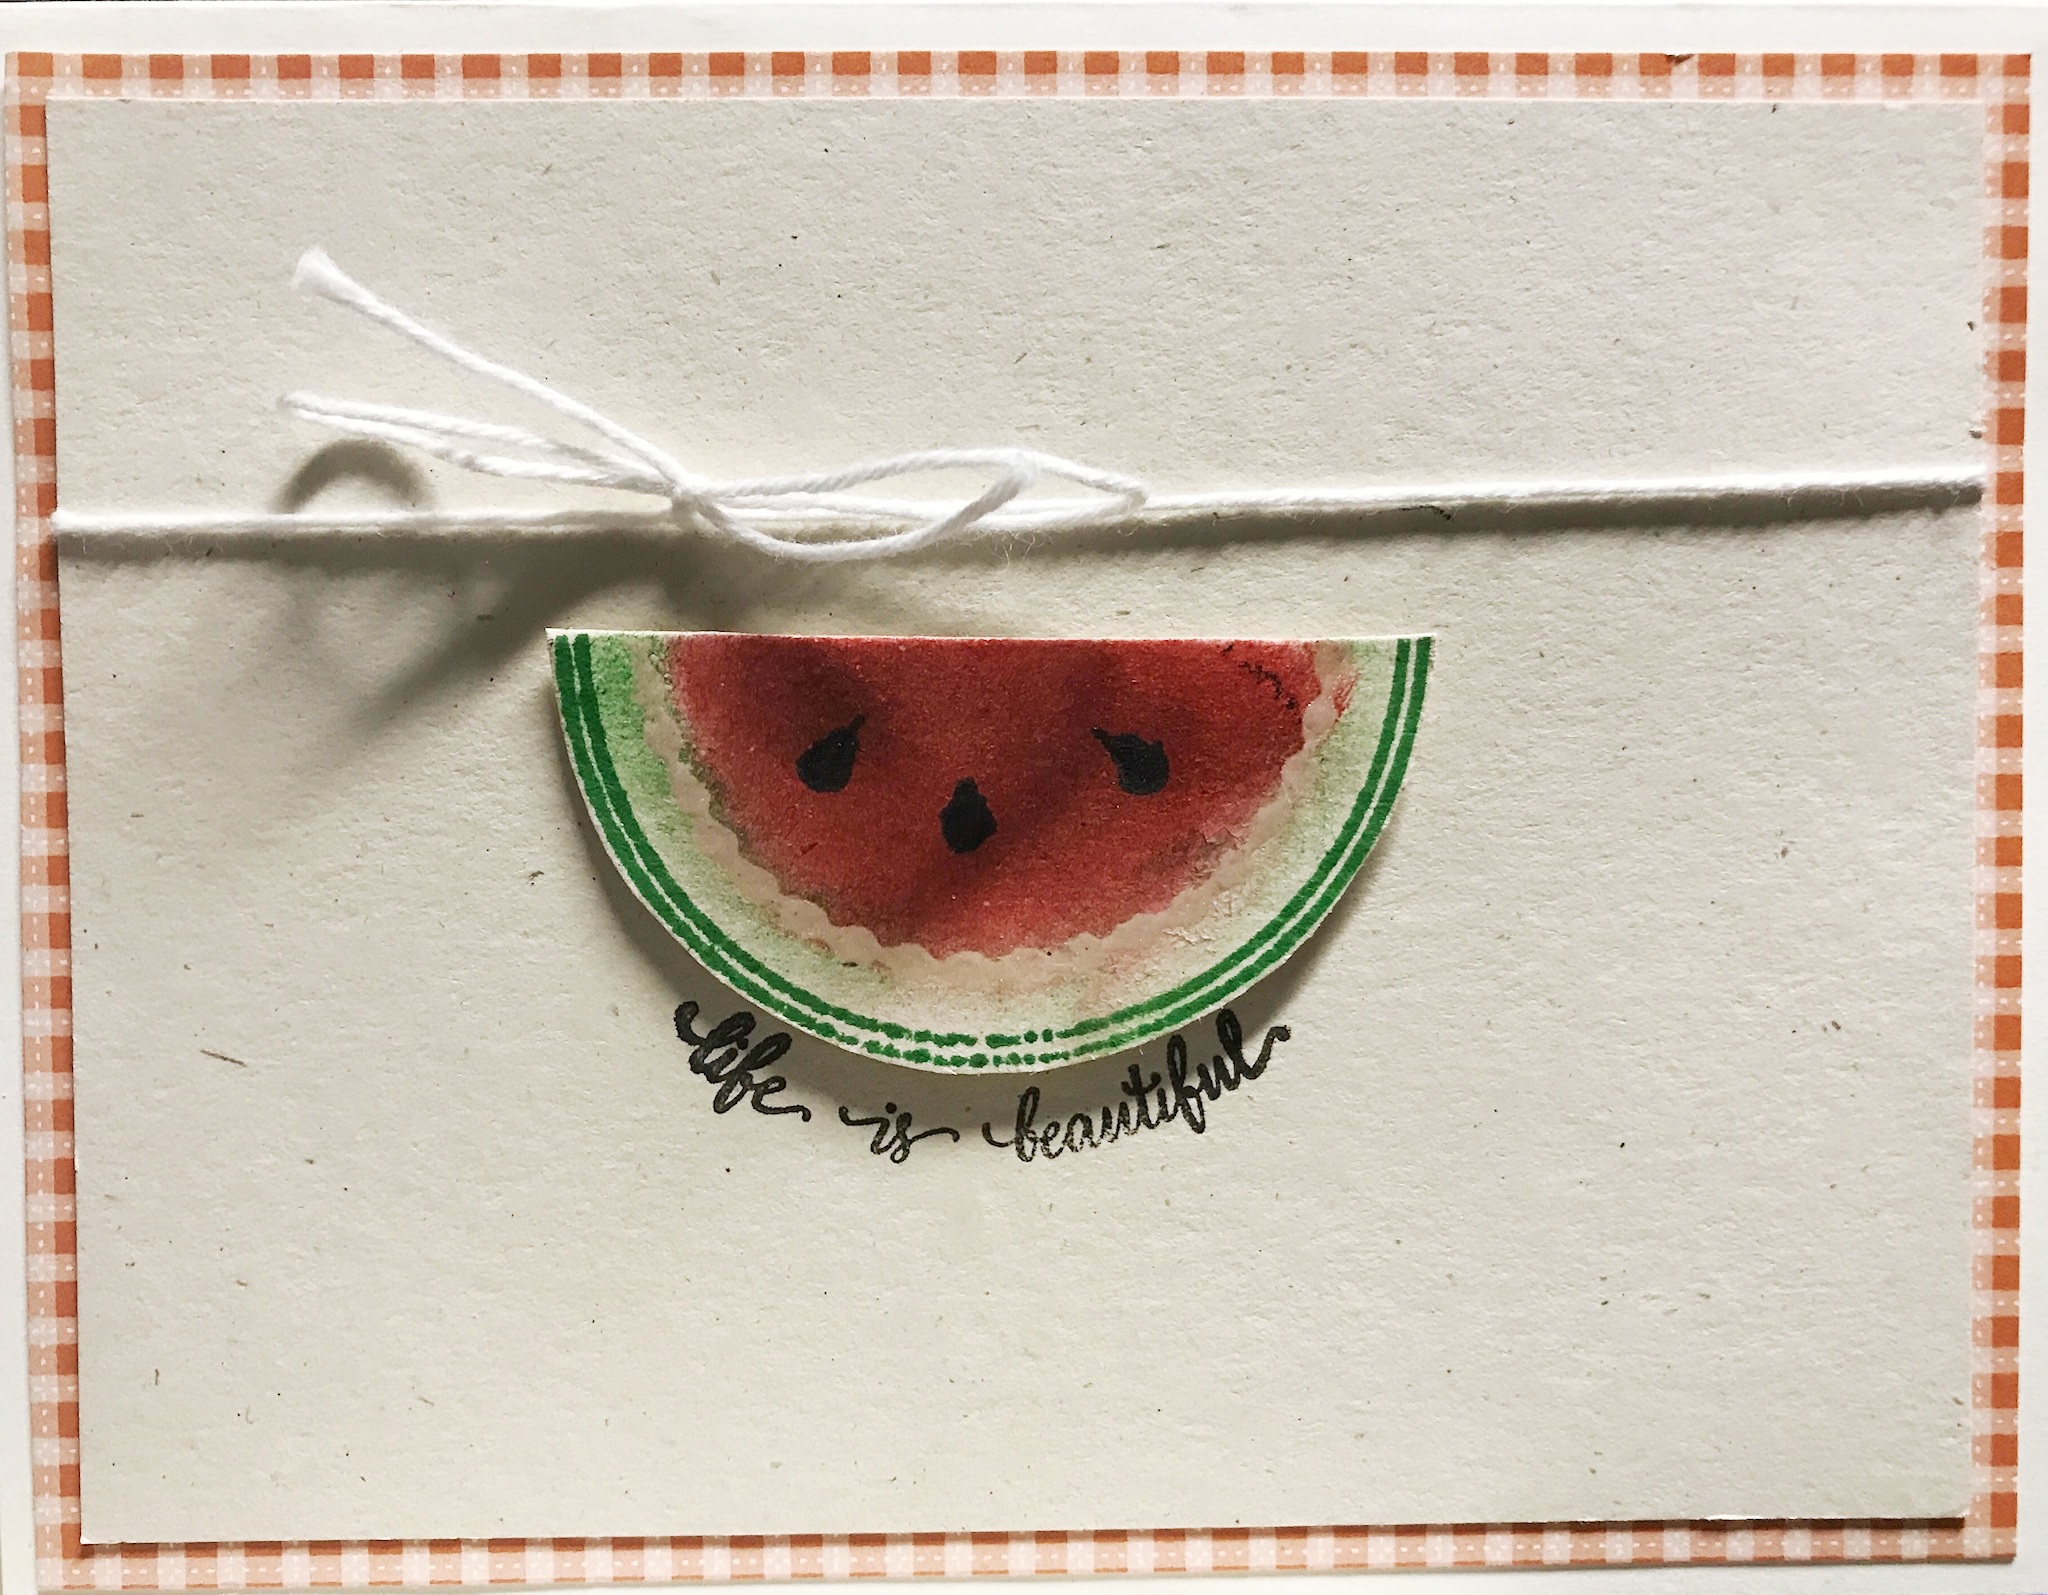 ational Watermelon Day!!! No Watermelon Stamp in the current catalog so I masked half of the paper and used 2 stamps from “Eastern Beauty” for the outside
 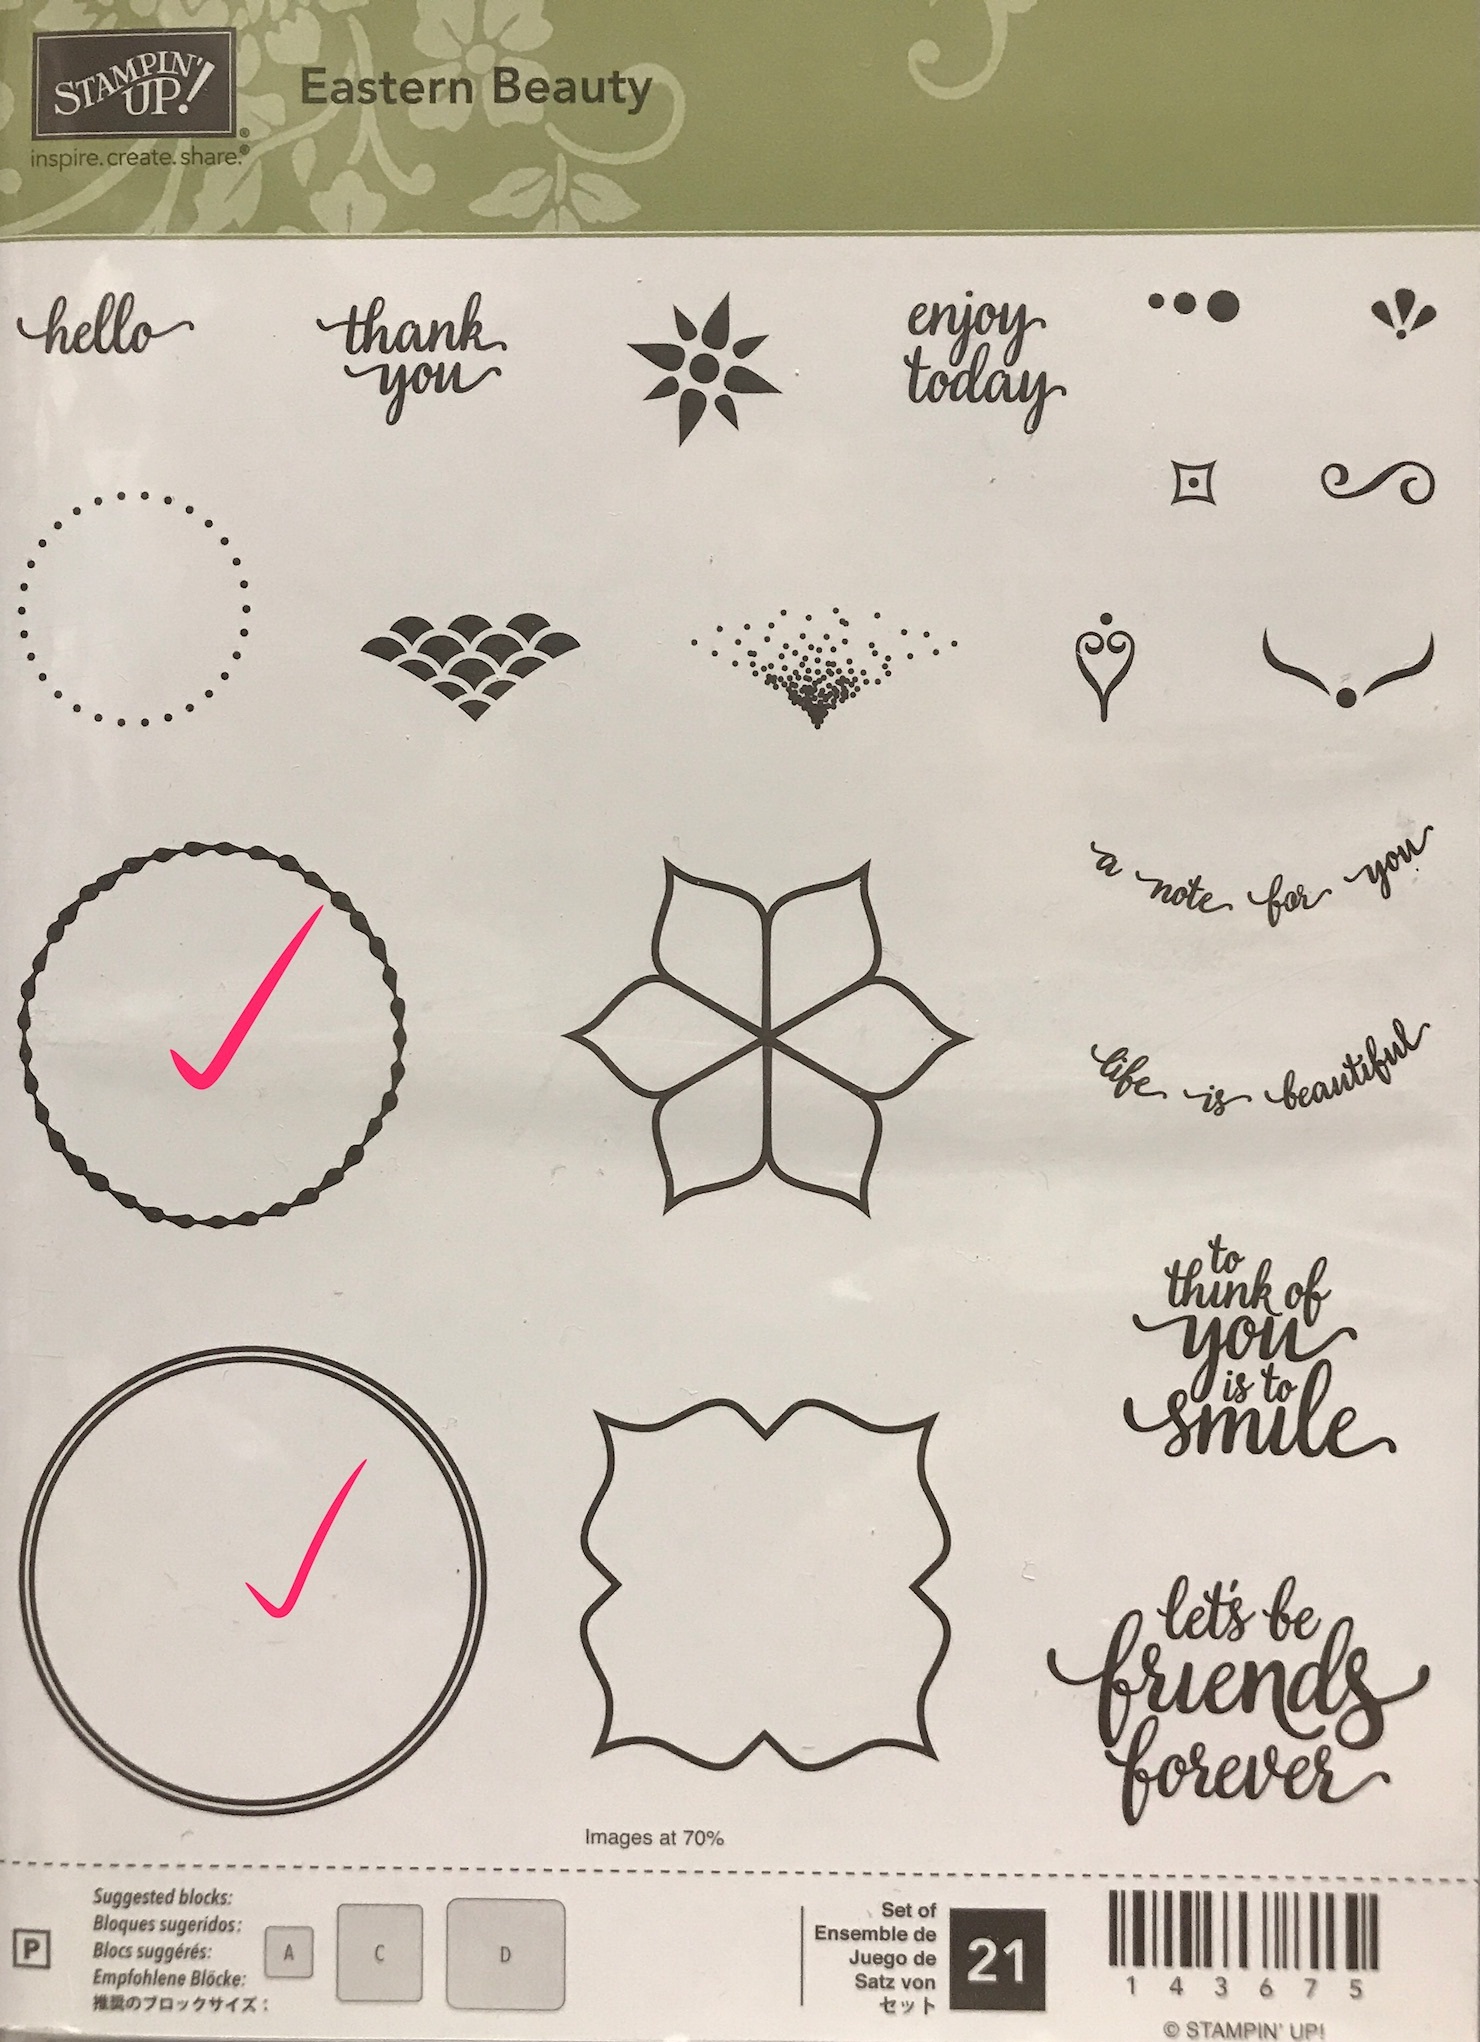 with Cucumber Crush ink, Versamark ink and white embossing powder for the rind, lightly sponged with some more Cucumber Crush, and then heavier sponging with Watermelon Wonder ink (of course!). Drew some seeds with my black Project Life journaling pen and added a sentiment (also from Eastern Beauty), cut out the Watermelon and popped it on top! You like?