 True Confessions – I have, literally, a TON of papercrafting supplies: Stamps, Dies, Paper, Inks, Embossing Folders, Ribbon, Embellishments, Markers, Cutters, Punches, Rollers, and some things I am sure I have forgotten. I could easily open a store! Soooooo nothing makes me happier than being able to USE those supplies in some way. (DUH!). I am very involved with a local art gallery (The Art Gallery of Fell’s Point) and we just moved the gallery to a new location (1926 Fleet Street) and I was in there last night setting up our new point is sale system (Square Register). We are in the throes of unpacking and re-organizing all of our STUFF and I looked around at some point and saw THIS!
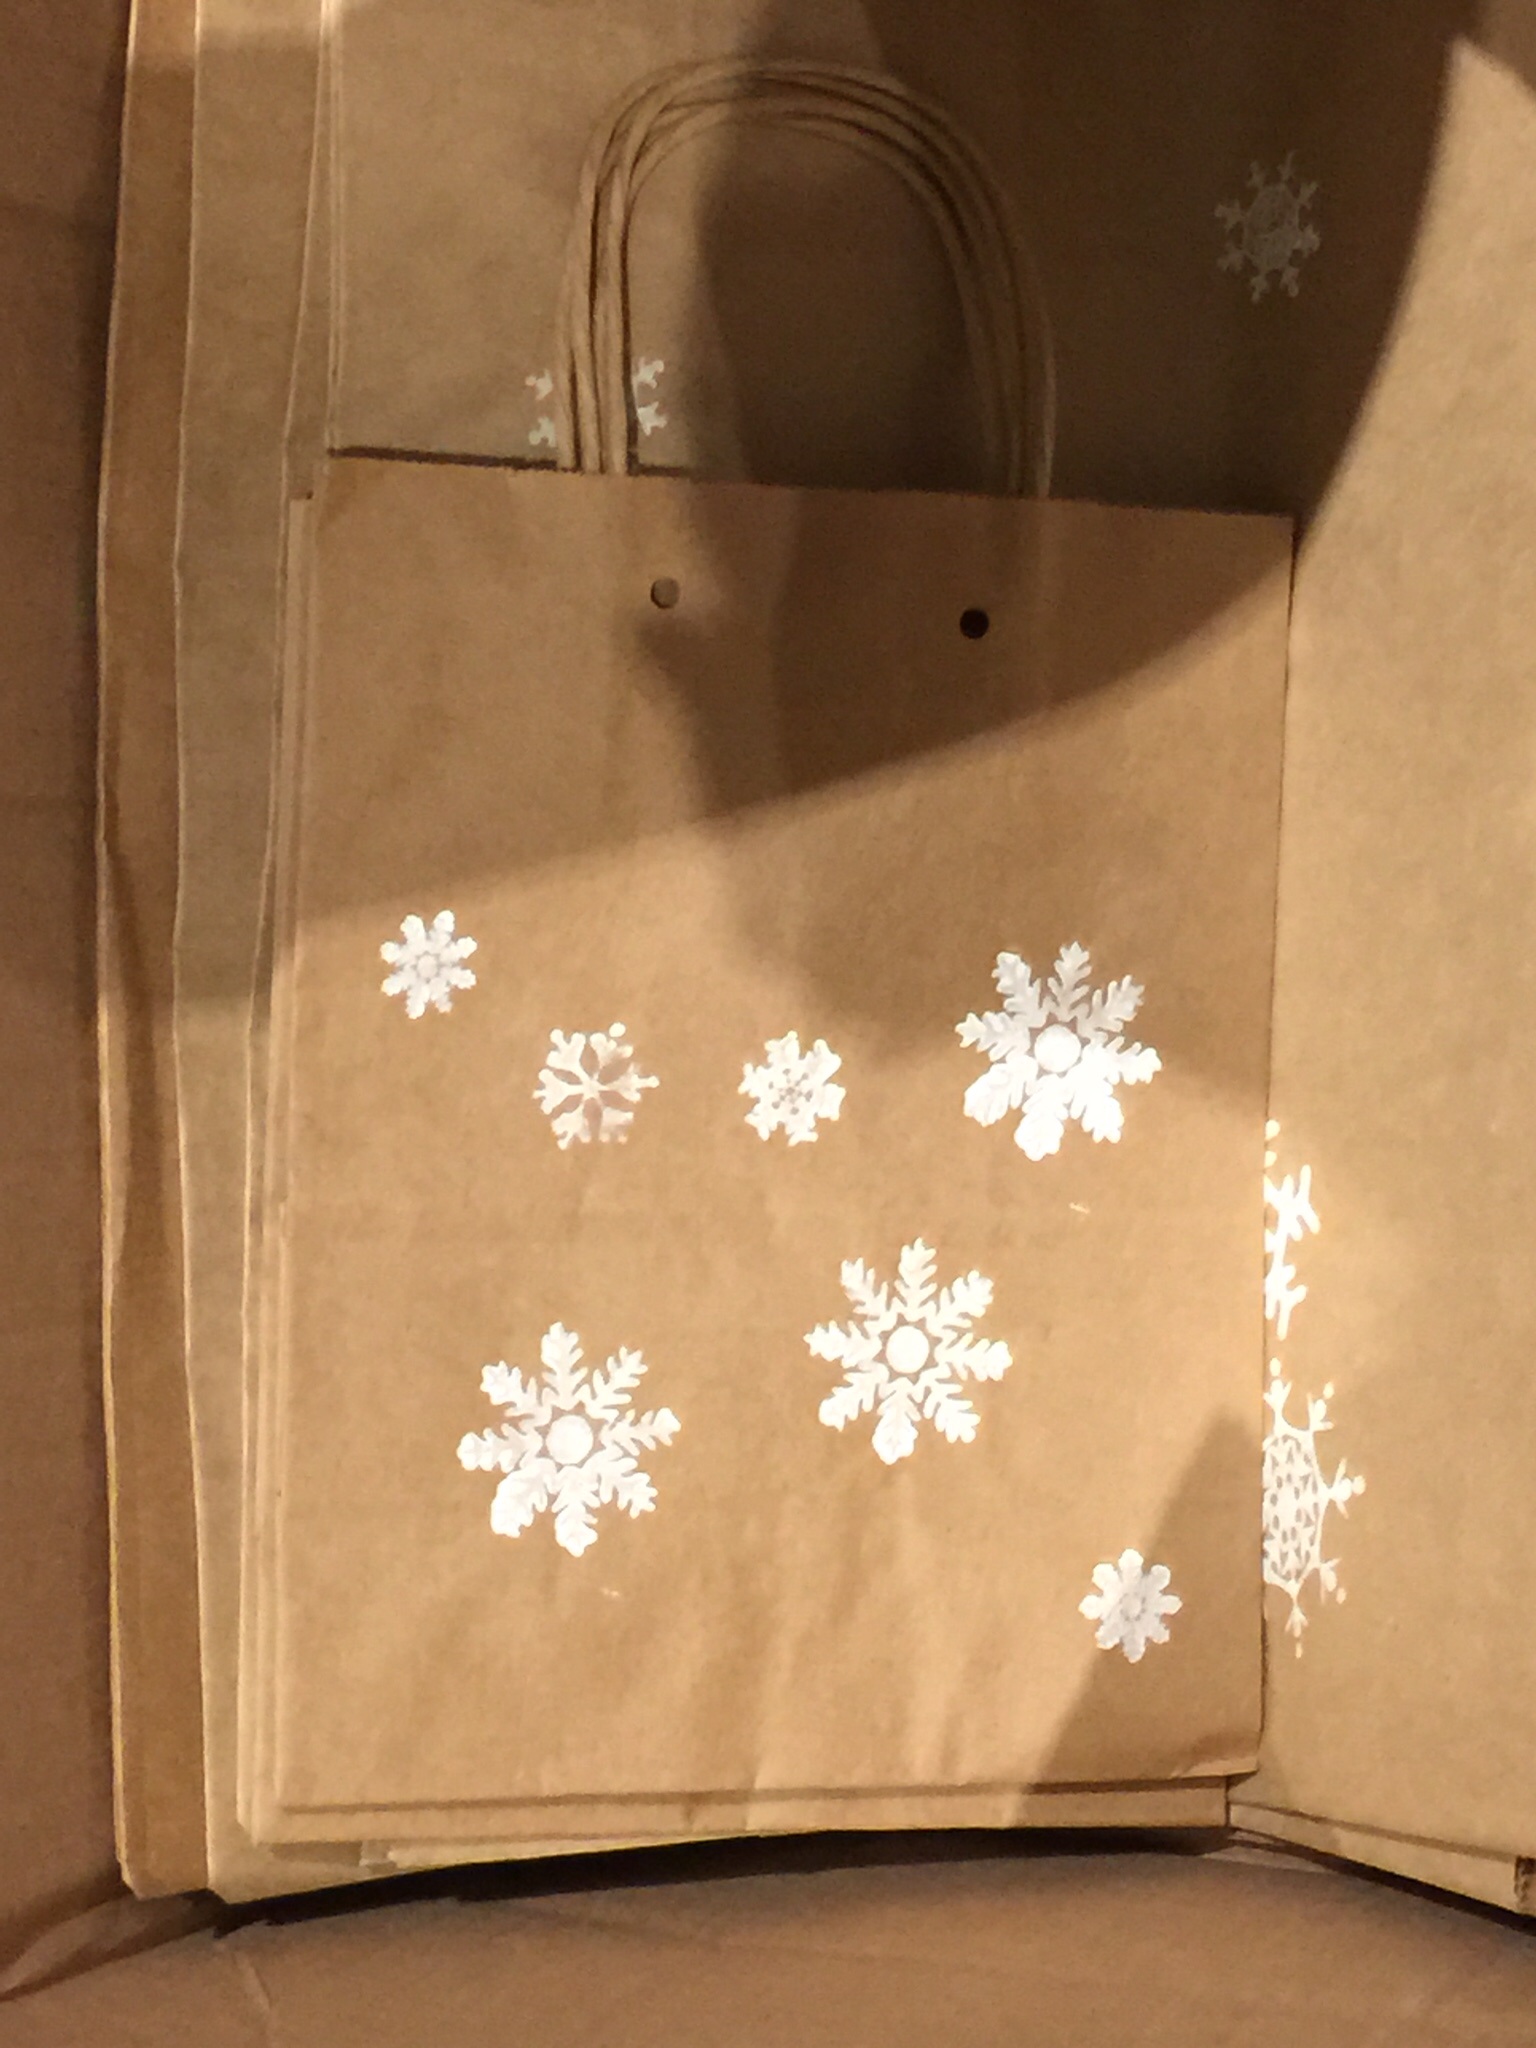
So today’s inspiration post is something that I actually STAMPED! A friend and I made these for the gallery last year using stamps I had on hand and white acrylic ink (none of my white stamp pads would leave this bold an image). We spent an evening and stamped about 300 different sized bags, and punched holes in the top to tie with gold ribbon. There is also gold tissue paper that goes inside the bag, and we die-cut 300 tags out of matching card stock (Crumb Cake if you are curious) and stamped those with the white snowflake and “to & from” on the back. We used some of them last year, and we have plenty left over for this year.
So I am thrilled that I was able to use my stamps and craft supplies for the good of the gallery, and that the effort will last a second year! My inspiration photo also reminds me that cards with snowflakes are still in season for another month or so! Here are some ideas:
Stamp the snowflake with versamark and brush with sparkly mica powders, Sentiment – hope your birthday Sparkles! You could also die cut a snowflake with silver glimmer paper or stamp with versamark and emboss with silver or white embossing powder. Spritz with some vanilla shimmer ink. One more idea – die cut a piece of card stock the size of your card front with a snowflake, circle the back around the snowflake with snail or glue and adhere a clear plastic circle to it. Circle again with dimensional adhesive, add some glitter, sequins, seed beads or tiny glass beads and place the card carefully over top so that the adhesive is sealed all around the glitter. You can add your sentiment to the outside or inside of the card for a fabulous shaker card!
Have I inspired you today with a simple snowflake? I am glad that today it was the stamped version and not the PILES of snow we could easily be getting this time of year!