Nothing like a last-minute project (gift!) to stir my creative juices! I am so excited – there is a baby on the way (noooooo! not me! – it’s the branch of the family tree belonging to my second cousins!) and lots of family is gathering on Sunday for a SHOWER! It has been a VERY long time since I have had to have a baby gift, so I am quite unprepared. I could take the easy way out, sure, and BUY a gift, and I MIGHT have to resort to that if this project is not nearly complete by Saturday, but I’m going to make a supreme effort for two reasons. FIRST, I am just a crafty person! Someday I will put my metalsmithing skills to task and make a little silver cup for some lucky baby, but that won’t be now. SECOND, I am woefully lacking in the scrapbooking area and I have been mulling this over for several months with no project that has called to me. Until.now.
Coincidentally I received an email from “The Craft Channel” about a product that they had on sale, ring binders without the notebook. (The story of whether I will or will not acquire these is for another day!) The important part is their video of how they used one of these in a project! They adhered the ring binder to the top of a plastic picture frame, the kind you might see a store sign in (this will become more clear as the project progresses!) So my idea is to use the plastic frame as a calendar base, and, since I don’t have those binder rings quite yet, drill a couple of holes in the top for split rings, and hang calendar pages from the rings. I know you are saying, at this point, so what is so scrapbooky about this?
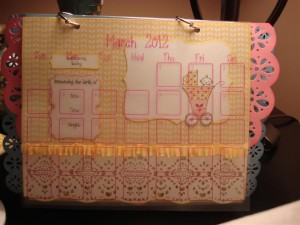
AhA! I am going to make the calendar pages CLEAR! Underneath each one will be a scrapbook page with one or two places for photos of the new bundle of JOY! BRILLIANT Yes? Well, as you might have guessed by now, not ALL of my plans go smoothly! 😉
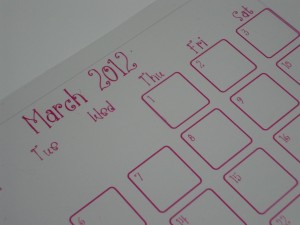
First I thought that vellum would be good, the photos would show through with an artsy kind of haze. Ummmm the printer did not agree to this plan!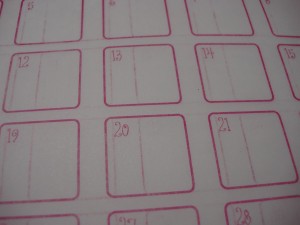 See the shadow pink lines???? They are NOT on the original.
What to do…….to the rescue, Stampin’ Up Window Sheets! I chopped one down from 12×12 to 8 1/2×11 and fed it into my trusty Color LaserJet, keeping my fingers CROSSED!
Voila! I am totally thrilled! 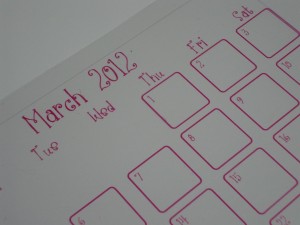
If you are wondering how I created the calendar, I did use Corel Draw. I am not as fast as I would like to be with Stampin’ Up’s design software, My Digital Studio, and while I am sure I could do this with MDS, I don’t have the TIME to fiddle with it!
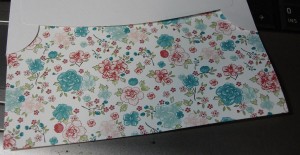
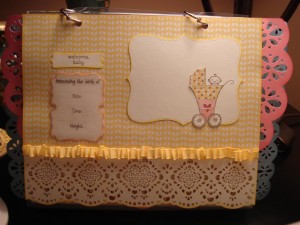
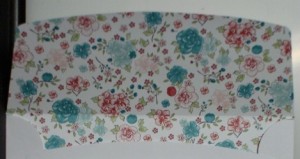
Now onto the scrappy pages! I will have to use some retired paper – Nursery Suite Specialty – since I hadn’t gotten ANY of the current “baby” Designer Series papers, much to my chagrin! But it will be beautiful, because, retired or not, that paper is cute, cute, cute!
Stay tuned for the next installment! Until then…Keep Calm and Find Yourself a Rubber Stamp!



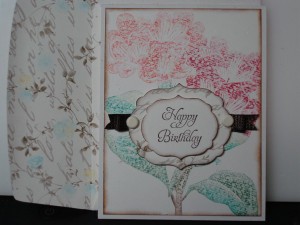


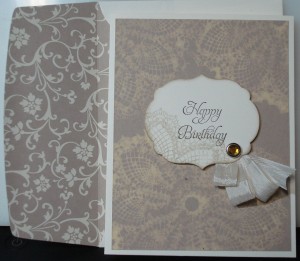
 is an envelope liner.