 In October 2010, Stampin’ Up had a regional meeting of demonstrators in Baltimore – it was nearly overwhelming! Swaps, new friends, and a very busy program had my head in a whirl by the end of the day. There were lots of WOW techniques demonstrated as well, and one that really got my attention was the bleach technique. It is soooo easy and sometimes you really never know what color the bleach will reveal – it isn’t always white!
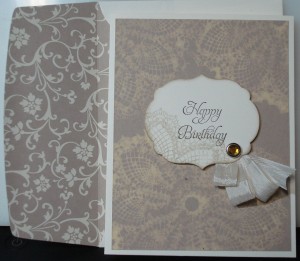
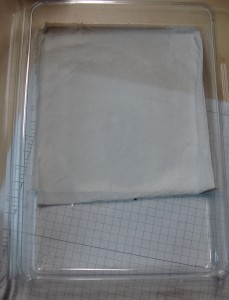
I had been wanting to try this again, and the crumb cake paper seemed as good as any to start with. “Hello Doily” background stamp is one of my all-time fav’s and you can see here it really looks as though I pressed a vintage doily into the paper!  With the bleach technique, you make a stamp “pad” of several layers of paper towel, pour on some bleach, and press it around until the paper towel is soaked. Not so much bleach that there is a puddle, though, after the paper has absorbed as much as possible. You just need the towel to be “juicy” like a new stamp pad. Press your stamp onto the paper towel, then press firmly on your paper. At first it will look like you have just stamped with water, but set your stamped paper aside a let it air dry. As it dries out, the image will appear lighter and lighter. Make sure you clean your stamp with a bit of soapy water to get all the bleach out – you certainly don’t want it to contaminate any future INK PADS that you use it on!
I lined my envelope with a beautiful pattern from the Mocha Morning Designer Series Paper pack. I KNEW there was a good reason to use crumb cake on this card! They are gorgeous together!
Until next time…Keep Calm and Find Yourself a Rubber Stamp!


