Category Archives: Crafty Techniques

Fiddley Level = 11! (Day 4)

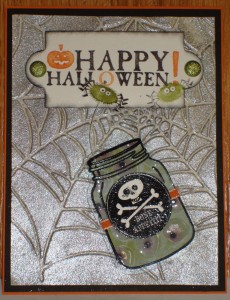
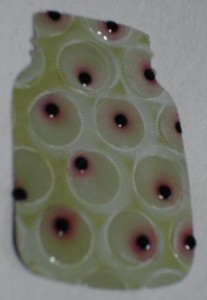
My Jar of “eyeballs” started with the large white circles side of the Old Olive sheet of Polka Dot Parade DSP.   I  stamped the other side (white polka dots) in basic black with the jar stamp from Perfectly Preserved, and cut it close to the outside stamped line (fussy cut).
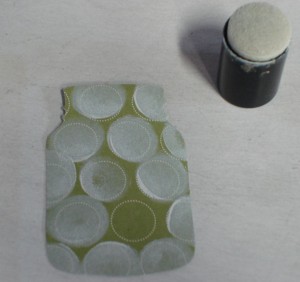
I flipped it over to the other side and with a sponge dauber and whisper white ink, I pressed it into each large circle, with a little twist.

Next, I had to find a “retina” image for the eyeball, basically a few small concentric circles.  There is a small flower in the “Lacey & Lovely” stamp set that has the perfect image:
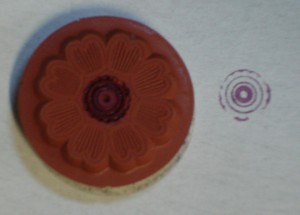
I inked the center with Rich Razzleberry marker and pressed the stamp with my fingers (Yep, no clear block!)  Using this method, I stamped the image on all of the white circles, sometimes in the center, sometimes near the edges.
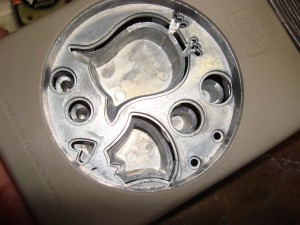
 Now I had to find a black center for the eye!  The smallest punched dot I could find was from the Owl Punch!  (see those teeeeeny tiny dots at the bottom of the picture?)  I squeezed a dot of crystal effects to the center of each retina and, using a straight pin to pick up the black dot, pressed it into the crystal effects.  I set this aside to dry for a few minutes.
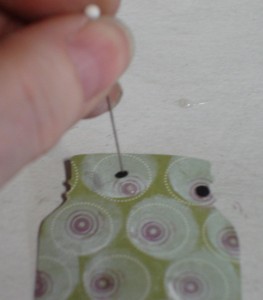
The final step for this part of the jar is to squeeze a larger dot of crystal effects over each eyeball, spreading to the edge of each circle.  This has to dry for at least 8 hours – preferably overnight.  I hope these look like eyeballs as much to you as they do to me!
Next up: A Jar and a Label (Day 5)!


Until then…Keep Calm and Find Yourself a Rubber Stamp!

Fiddley Level = 11! (Day 3)

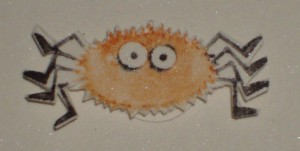
Spooky Spider!!

This little guy was “fussy cut” and then prepared to slide up and down on his own spider web.

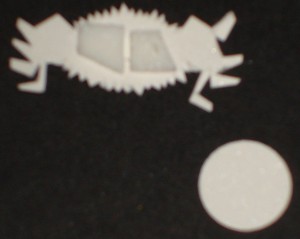
The view from the back shows the two bits of dimensionals that have been placed so there is a slot in between for the web (fishing line).  A small circle was punched and stuck to the dimensionals:


 The fishing line will feed through the slot so spidey can make his way up and down it!


Next Step: Jar of Eyeballs (Day 4)

Until then…Keep Calm and Find Yourself a Rubber Stamp!
Fiddley Level = 11! (Day 2)

LABEL MAGIC!

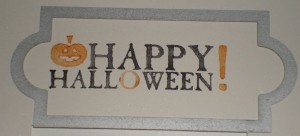
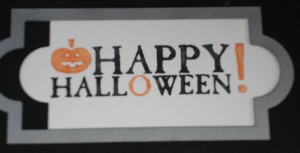
We have a lovely label die in the Apothecary Accents Framelets collection that is a long rectangle with two “bumps” on each end perfect for brads or securing ribbon through holes. It is a bit long for some sentiments, and I found I can get it the perfect length using this technique.:

First I stamp my image and then center it vertically under the die. I shift the die close to the left side of the stamped image and run it through the Big Shot. With the label still in the die, I shift the die to the right side of the image and run it through the Big Shot again. Now I have the perfect length for the sentiment!

Next up: Day 3 – Spooky Spider!

 Until then…Keep Calm and Find Yourself a Rubber Stamp!
Fiddley level = 11! (Day 1)

 Halloween always brings out the creative juices!  There used to be costumes made from scratch, much partying (and recovery time)…but I digress… that was MANY moons ago and these days, paper, ink and stamps satisfy my creative muse instead!

I had the opportunity to participate in a card-front swap of stamp sets in our new Holiday Mini catalog.  The stamp set I chose is called “Monster Munchies” and by the time the card came together, I had 4 stamp sets, an embossing folder, 2 sets of framelits, and flotsom from oodles of techniques (some I think I made up!) spread across my stampin’ table!  If you’d like to follow along with the process, I’ve broken it up into several posts – this was a looooong process!

Starting with the spider web layer, ink the spider web embossing folder with versamark ink, but only on the raised side.  After running this through the Big Shot, cover the paper with clear embossing powder, and gently brush off all the excess powder from the raised surface, leaving the powder in the spider web cavities.  Melt with the heat gun.  Spray with Silver Foil Smooch Spritz.   (Smooch always creates an amazing effect – and the silver is impressive!)  The embossing powder acts as a resist, and remains shiny and white against the silver background.

Next up: Day 2 – creating the label…

Until then…Keep Calm and Find Yourself a Rubber Stamp!
 

Lace Ribbon and Catalog Transition

After a short hiatus, I am back with lots of cards and techniques.  We have just about 6 weeks until the new Stampin Up Catalogue comes out, so I will identify which cards in the next posts will have parts that will be discontinued.  So far we only have the retiring stamps list, as the rest will be coming out next week.

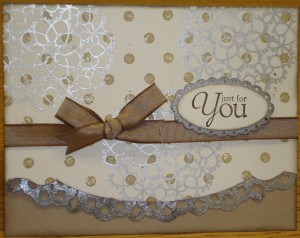
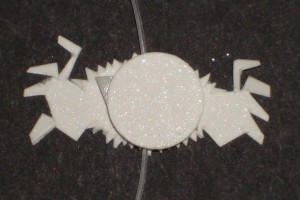
The fun technique with today’s card is using the Lace Ribbon Border die as a lacy edge for your card. 

 The fiddley level for this technique is 1. 🙂

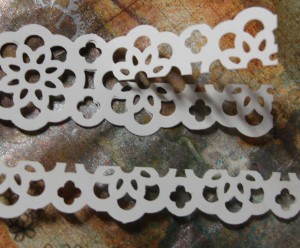
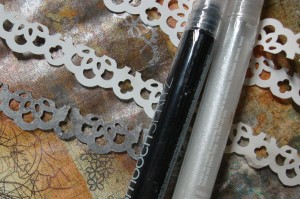
First I cut a strip of shimmer card stock with the Lace Ribbon Border punch.  I do love the shimmer paper.  It provides such a subtle sparkly surface.  Next I cut the lace in half lengthwise:


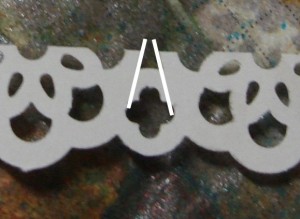
Clip the new strip where indicated.  This will allow you to curve the strip to the shape of the edgelit.


As you may have discovered, I LOVE Smooch Spritz – the shimmer is just gorgeous!  I spritzed the lace strip in BOTH silver and vanilla smooch.  You could just use silver, but I did both since lately, I can’t stop at just ONE!

Next I snailed the back of the edge of the top layer cut with the edgelit die and gently attached a little bit of the lace at a time, bending it to the shape

You will notice this strip is a little shorter than the one on the card – either length will work, I think.

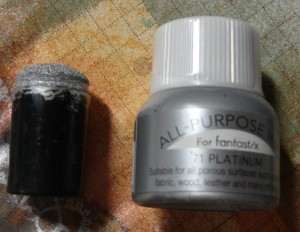
One of my other favorite inks is the shimmer paint.  I’ve used the platinum shimmer here and inked the doily stamp set (Yes! This stamp will be in the new catalog!) with a sponge dauber.  This is such an easy way to get that silver shimmer – no need to emboss!


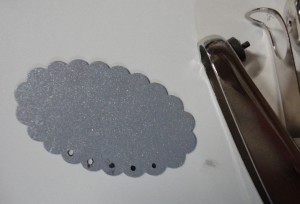
 Last but not least, I punched silver shimmer cardstock with the scallop oval punch and then punched each scallop with the 1/16″ circle punch.  Cute!!! I’ll definitely be doing this again!  You can put a small dot where you want to punch the scallops if that helps – it isn’t as easy as it looks to find the center spot once you have the paper in the punch!

I do like the silver, vanilla, crumb cake color scheme of this card.  It looks very metallic, and reminds me of the jewelry I make – mixing copper or bronze with silver.  Now I am inspired to saw some little scallops for the next piece!

  • Card Components: (Retiring stamps in Red)
  • Stamps: Distressed Dots Background Stamp, Delicate Doilies, Precious Butterflies,
  • Paper: Crumb Cake, Shimmer,
  • Ribbon: Crumb Cake 3/8″ Taffeta,
  • Ink: Crumb Cake, Early Espresso, Platinum Shimmer, Silver & Vanilla Smooch Spritz,
  • Tools: Scallop Oval, Large Oval, 1/16″ Circle punch, Lace Ribbon Border Punch, Edgelit Die (Adorning Accents)

Until tomorrow…Keep Calm and Find Yourself a Rubber Stamp!
Manly Smooch

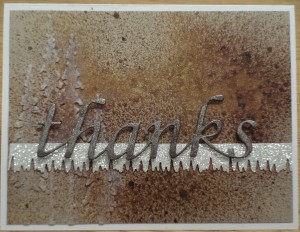
I needed a “manly” card for a thank you, and was inspired by this:

The “thanks” sentiment and the silver icicles are die cuts, and the embossing folder is Sizzix, but not one exclusive to Stampin’ Up.

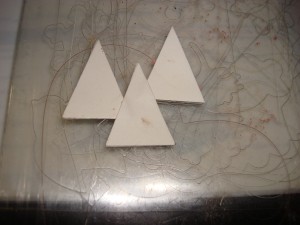
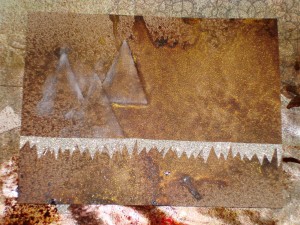
To replicate the fir trees, I punched the cardboard layer included in Designer Series Paper Packs with the Petite Penants Builder Punch, cutting 9 triangles.  I “snailed” 3 triangle shapes layering 2, 3 and 4 triangles and used a bit of snail to glue them to a Big Shot plate as shown here.  I placed a crumb cake layer over the “trees” and rolled it through.  My own exclusive embossing plate!!!  after spritzing with log cabin and gold smooch and snipping silver glimmer paper and into a strip of icicles, I ended up with this:

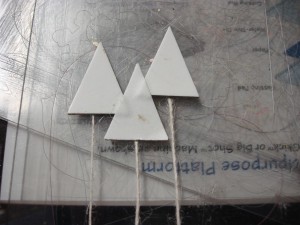
I am not really sure the triangles “read” as trees, so I added some twine to the big shot plate for tree trucks:

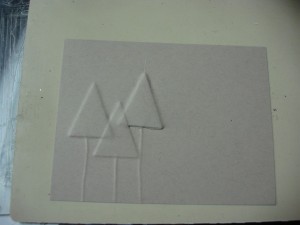
Another try at embossing:

This looks better!  Check back tomorrow for the final product!

Until then…Keep Calm and Find Yourself a Rubber Stamp!
Smooch Spritz Manhattan Floral

 Baby needs more Smooch Spritz!

I am smitten by the effects of using not just one Smooch color but overlapping 2 or even 3 colors.  The gold smooch adds the most amazing effects to the other colors and your card! 

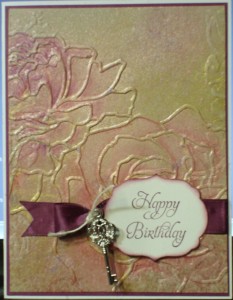
Believe it or not, the base color for this embosssed layer is crumb cake!  I embossed with Manhattan Flower, then smooched Blushing Bride, then Gold, and dried it with the embossing gun.  It is difficult to photograph the glitzy appearance the gold adds. 

I used red and magenta Stampin’ Up watercolor pencils in the shadow areas of each rose, and followed with lighter shades of each color.  Then I used a damp paintbrush to soften and blend the colors. 

The Rich Razzleberry satin ribbon is actually retired, but I liked it better than any of the current ribbons, so on it went!  I added a trinket key (so cute) with some twine, and cut the smallest Label Framelit from white shimmer paper.  I really like the simple loop of the ribbon rather than a full bow – just enough to be elegant and no bow-tieing challenge!

More Smooch adventures on the way….

so until next time… Keep Calm and Find Yourself a Rubber Stamp!

Scrapbook – the final chapter!

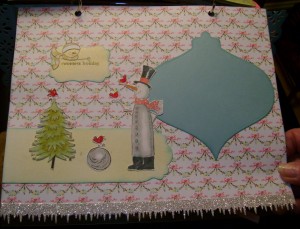
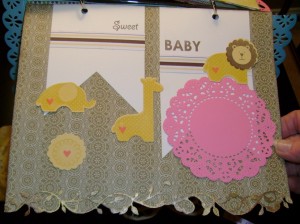
December’s Page Features the “Snow Much Fun” stamp – the birds and snowman are so cute!  The icicle border is Stampin’ Up’s silver glimmer paper – really a luscious paper!  The glitter does not come off, and it is really easy to cut with scissors, dies, or paper cutter.

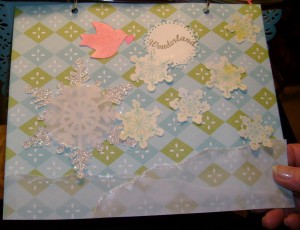
The January page is the only one that did not quite come together as well as I would have liked.  I tried to make “snow drifts” from vellum and glitter glue, but the glue really warped the vellum and it did not sit as flat as I wanted.  The silver snowflake is the glimmer paper again – so beautiful!

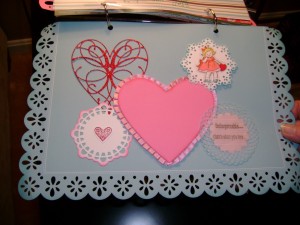
This is the last page for the year, February 2013.  Our Occasions Mini catalog is filled with wonderful products, including several dies.  The Heart Framelits have 6 different sized hearts, with the largest one edged in scallops.  This pink one is the next size down, surrounded by pleated ribbon (also from the mini). 

I had a few die-cut doilies and heart left over after Valentine’s Day to round out the page, and finally, paper-pierced the darling little girl from “Greeting Card Kids”.  The sentiment is a verse from a Nat King Cole song, “Unforgettable”, which coincidentally was written and recorded first in 1951.  That was the year I was born, and also my cousin, Debbie, who is the Grandmother-to-be!  So not only did I think it was a perfect little thought to end the baby’s first year, it also has a surprise meaning!

Well that wraps up my first (and perhaps ONLY) Baby Scrapbook Calendar!  It truly was a labor of love, so thank you for bearing with me through so many posts!

Until next time…Keep Calm and Find Yourself a Rubber Stamp!

Sweet Baby October (and November)

One thing that I found as I was doing these scrapbook pages, is that once I decided on the elements for each page, I would set them on the page without the glue and move them around until I found a design I was happy with.  I have seen some scrapbook pages where there was nary a 1/4 inch of unused space – I think that is just too busy.  I rather like that these pages are a little “thin” on embellishments.  If the parents decide to journal a little, they still have room to add a label or maybe a scrap of memorabilia from that month.

Banners have been BIG this year and by adding a bit of the striped pattern from this designer series paper pack, I was able to dress up this simple one a little.  I am still on my “decorated edge” kick, and paper-pierced this one after adhereing the leafy strip.  I also spritzed the strip with the copper Smooch to make it stand out from the brown background (and to give it a little bling!).

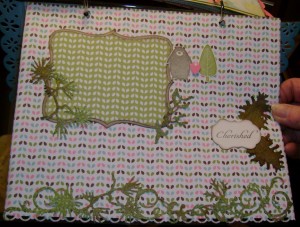
I’m a sucker for little animal stamps, and I have been getting out “Furry Folk” and putting it back UNOPENED for several months!  I decided that the November page should have a “forest-y” feel and finally Mr. Bear made it to the light of day! 😉  The pinecones and fir tree embellishments are all from a Sizzix strip die in my stash, and again I spritzed with the Smooches to make them more artsy and sparkly.  The patterns in the Nursery Suite paper pack are just brilliant!  I could layer even this busy one and still have a nice design to the page.

Only three pages left, so … until tomorrow…Keep Calm and Find Yourself a Rubber Stamp!

Up In the Air for August

Stampin’ Up has many benefits for Hostesses, and one great thing they have done this year is to make hostess “dollars” for achieving sales levels at a party very flexible.  Exclusive stamps can now be “purchased” with hostess dollars at a discount, and the dollars can be used for any other merchandise for sale in the catalogs.  The little floral stamp with the butterflies is one of the exclusive hostess stamps in the Occasions Mini catalog. 
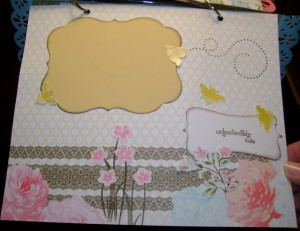
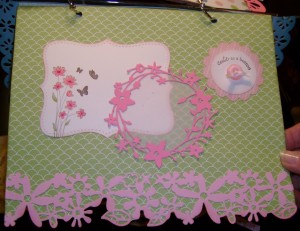
I rummaged around in my “not Stampin’ Up” area and found a floral Sizzix die for the border and a similar-shaped flower die from another company to frame the area for the baby picture that will go on this August page.  I also did a little paper piercing, cutting out the bottom of the paper to conform with the die-cut flowers to continue the “lacy edge” theme for many of the pages.

I had many themes going with the calendar, and one was changing the color scheme (slightly) every three months.  March, April and May are Pink (mmmm…can you guess what the baby is going to be?)  June, July and August are Green, and September, October and November are brown.  I thought the roses in the “Attic Boutique” designer series paper were perfect for a late summer page, along the little bees buzzing around (and the sentiment) from one of my non-Stampin’ Up stamp sets.

Until tomorrow…Keep Calm and Find Yourself a Rubber Stamp!