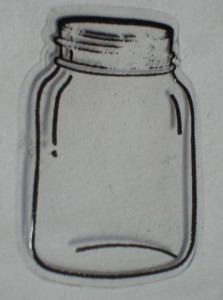
A clear jar – challenge! – Window Sheet! Challenge solved!
As you can see, I have stamped the jar from the “Perfectly Preserved” stamp set in versamark ink onto a piece of our awesome window sheet. Then I embossed with black embossing powder. If you have our NEW heat tool, there are 2 settings, and you can emboss on the low setting without melting the window sheet. I CAREFULLY embossed with the old heat gun (only one setting – high!), by keeping the gun moving back and forth across the embossed area until all powder has melted.
Then I cut the shape out with the jar from the “Cannery Set” framelits. After this was done, I didn’t like the curved line at the bottom of the jar – so I just scraped it off with my fingernail! In a perfect world, I would have masked the stamp with tape in that area when I inked it with the versamark, or removed the embossing powder with my fingernail before I embossed the jar, but the adhoc approach worked, thank goodness!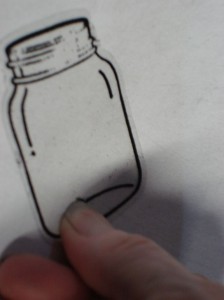
Next, I cut a slit in the plastic, right outside the jar line, to insert the ribbon. I used my craft knife to “grab” the ribbon and pull it through the slit.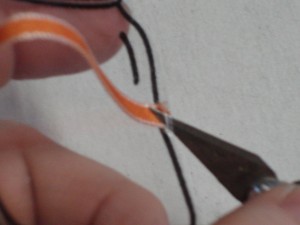 Since the Framelit cuts about 1/16″ outside of the stamp image, there is just enough room to make the cut. I pulled both ends of the ribbon so that it sat flat on the “jar”.
For the label, I tried stamping it in basic black on the shimmer paper (my favorite label material, since it is a little stiffer than the whisper white paper). That was not quite dark enough for me, so I tried it with versamark and black embossing powder, and that result was PERFECT!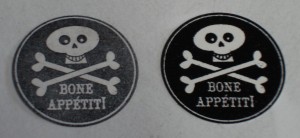
I snailed the back and attached it right over the ribbon.
Now it is time to attach the “eyeball” layer. I adhered two glue dots to the back of the clear jar, right behind the label, so you cannot see them from the front. Then I snailed the back of the “eyeball” layer just across the center where the ribbon would go, and wrapped the ribbon around that layer.
Now I punched a 1/16″ hole through both layers of the jar (window sheet & eyeball paper), near the top of the jar (see example). This is for the spider’s fishing line! Feed the end of the fishing line through the hole (make sure SPIDEY is still attached!) and add a dimensional over the end. I adhered several more dimensionals to the back of the “eyeball” layer, and pressed it down to the spiderweb card front. 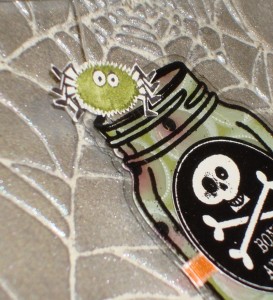
I think we are neeeearrrly finished! Tune in for tomorrow’s wrap up!
Until then…Keep Calm and Find Yourself a Rubber Stamp!

