Category Archives: Crafty Techniques

Brusho!

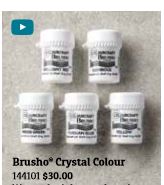
. Brusho Item# 144101 $30

What’s new in the Occasions Catalog? Brusho!!! Five fascinating colors and new ways to liven up your cards and projects!   I cut a piece of watercolor paper and spritzed with water.  Brusho is a fine powder, so the safest way to use it without spilling it over EVERYWHERE is to poke a small hole in the top and shake it over the spritzed watercolor paper.  The color crystals will spread and create unique patterns which you can swirl by moving the paper and allowing 
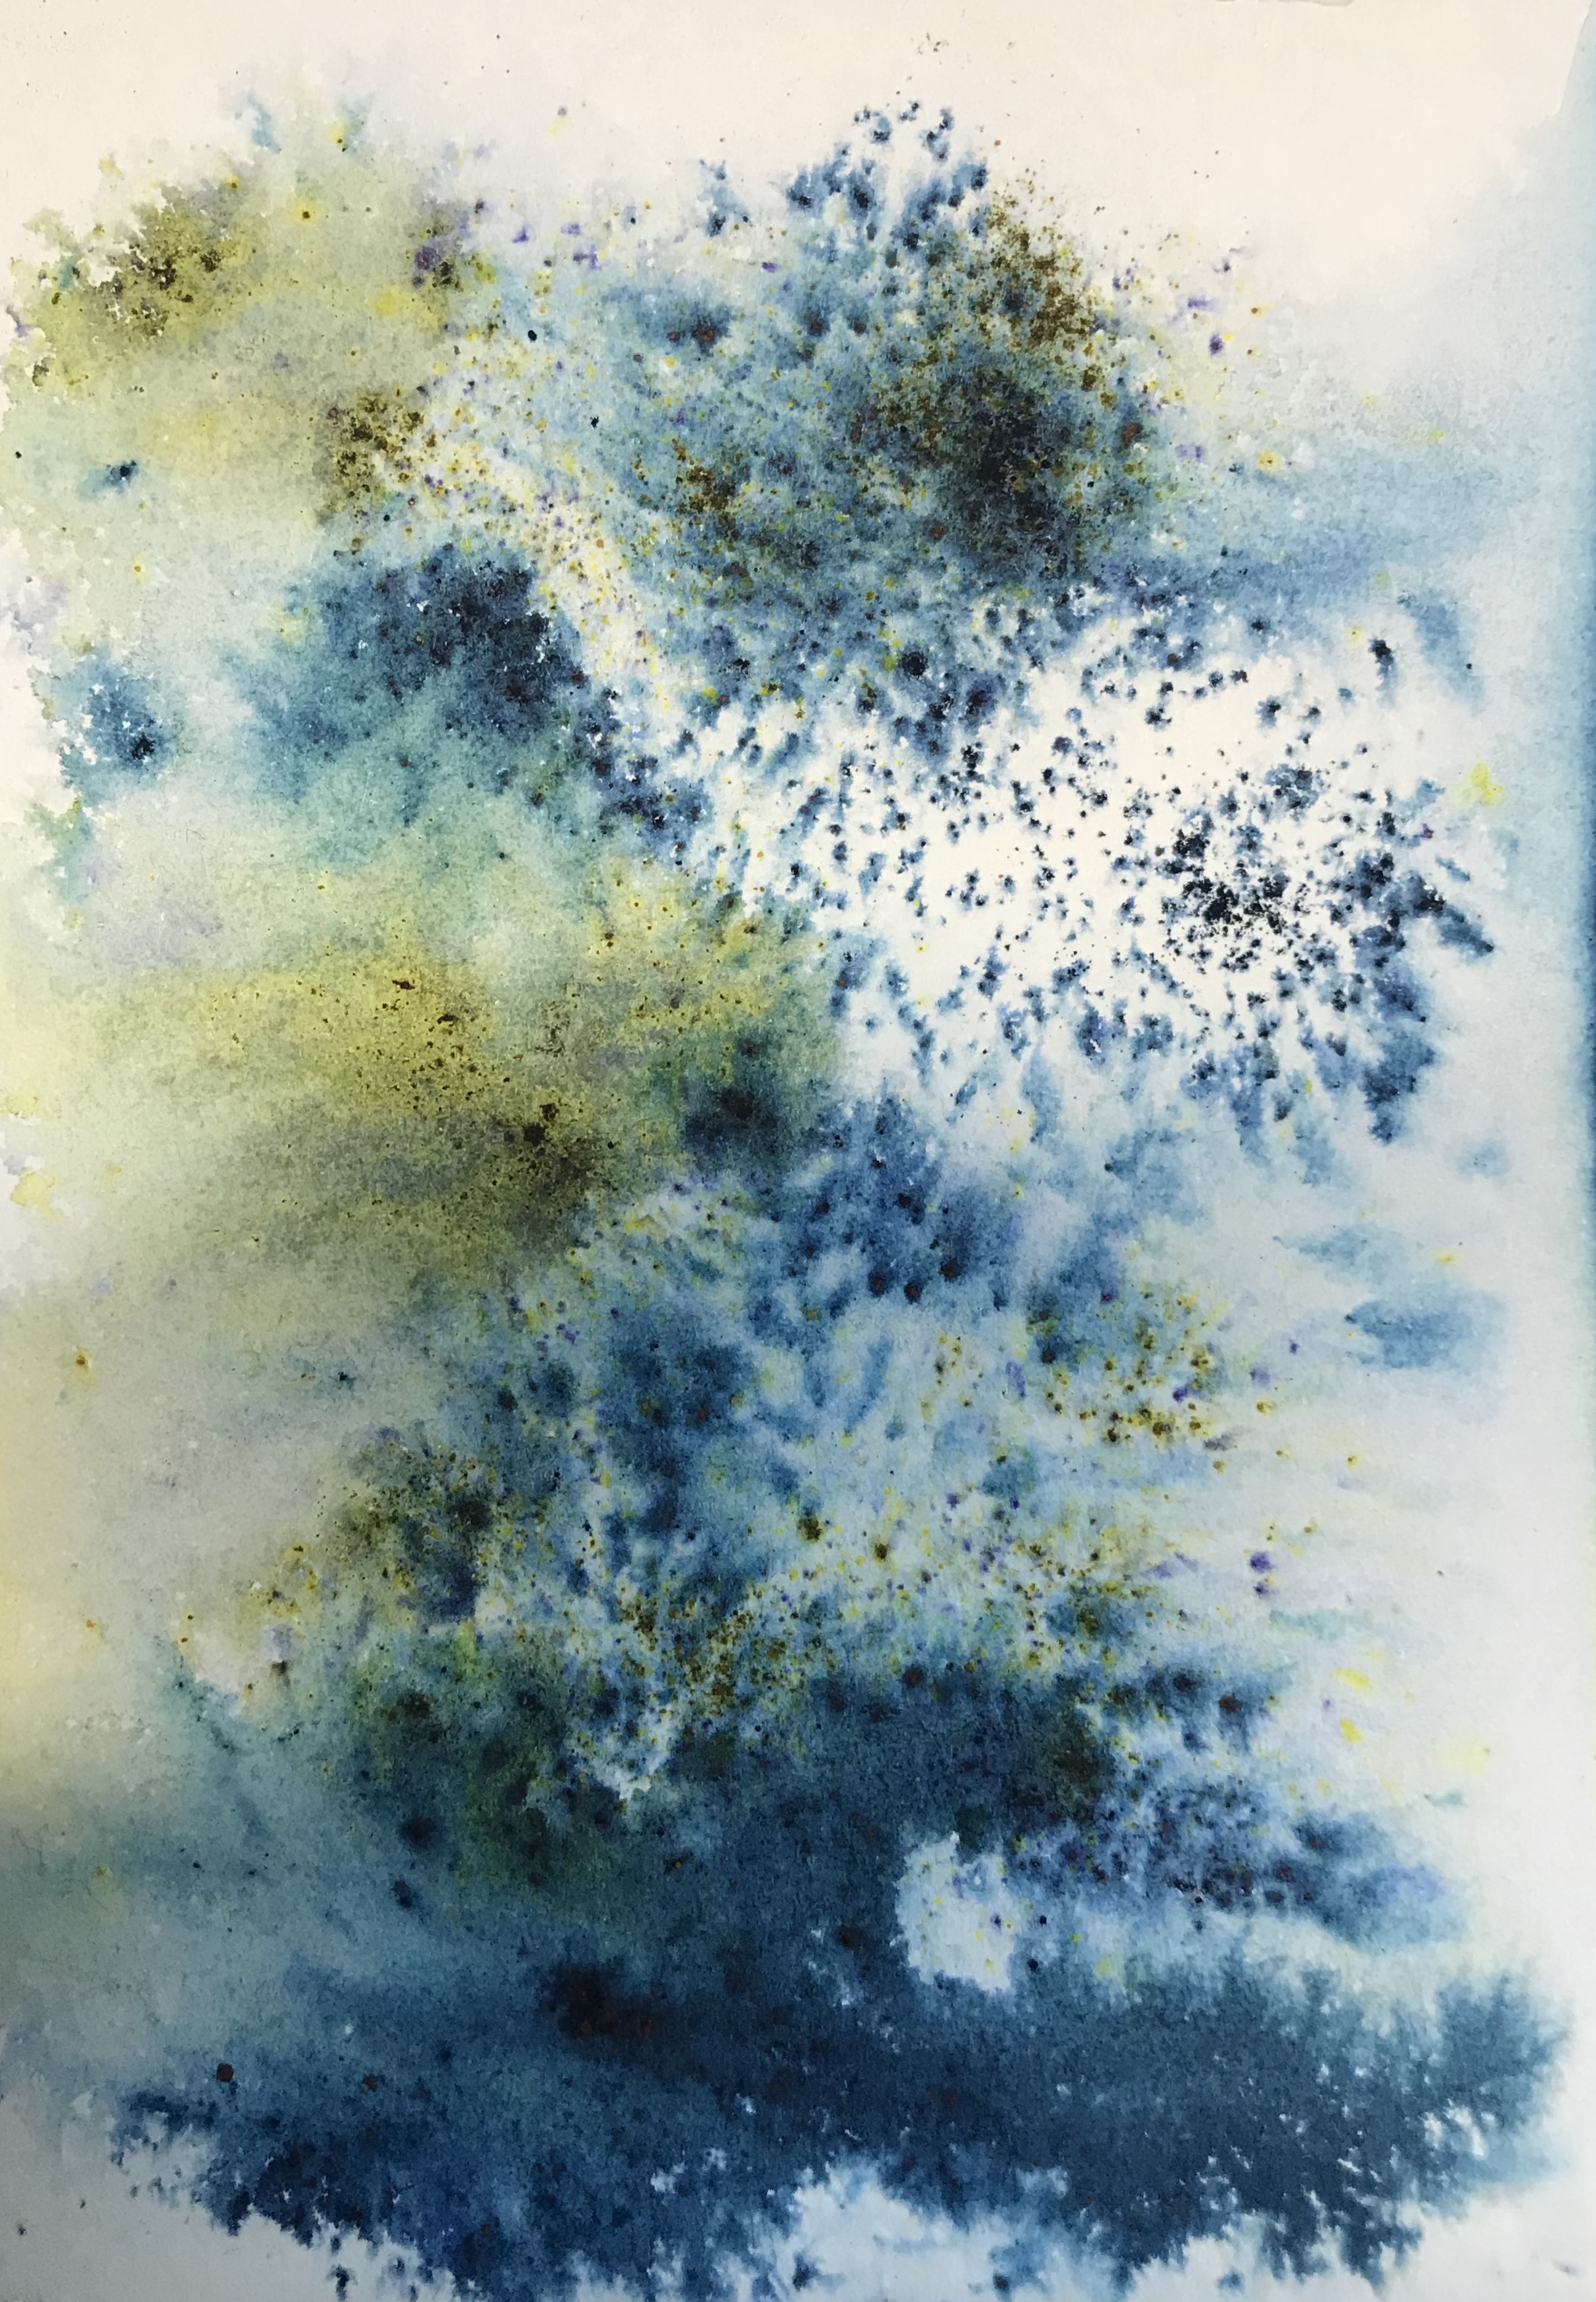
the water to carry the colors in one direction then another.  I sprinkled green and blue brusho on the paper and swirled a bit of it and let some sprinkled areas stay that way.  After drying I had THIS result.

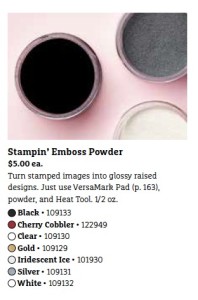
I stamped the butterfly from the Beautiful Day stamp set in VersaMark ink and embossed with Black Embossing Powder over top of the background.   I added some Dark and Light Bermuda Bay Stampin’ Blends Markers and Dark and

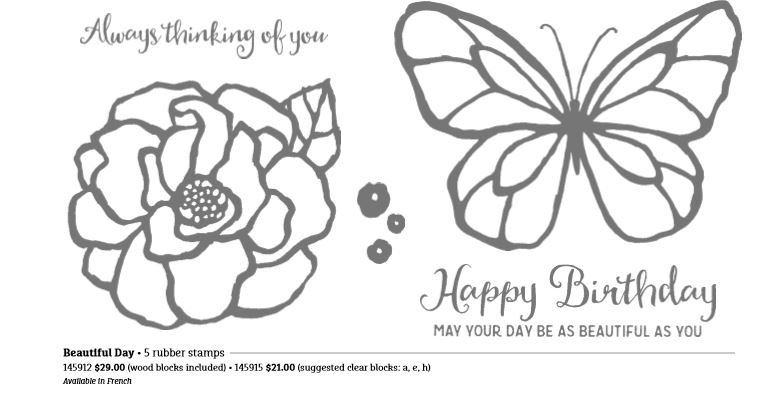
Beautiful Day Item#145912 $29.00


Light Daffodil Delight Stampin’ Blends to the inside of the butterfly wings, then fussy cut the butterfly and added it to the front of the card wi
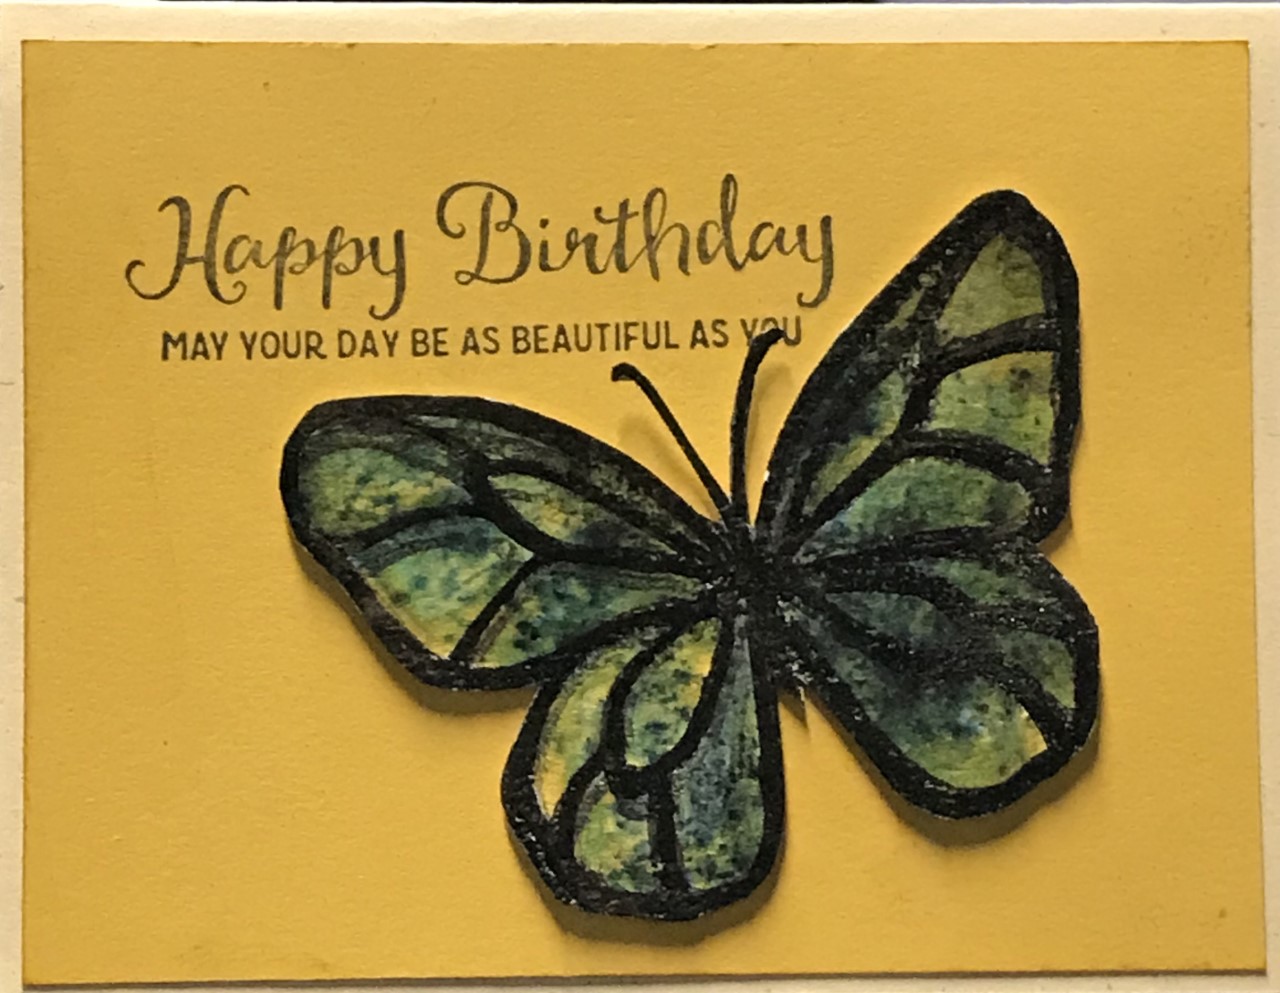
th dimensionals.  I love the look of this butterfly!  It really looks like the wings are transparent and 3D!

Order YOUR set of Brusho Crystal Colours and the Beautiful Day stamp set by clicking on the SHOP ONLINE link at the top of the page.  You’ll be amazed at how easy it is to make fabulous backgrounds and embellishments with Brusho!


Christmas in July Merry Mice

The mice in the Merry Mice stamp set are just adorable!  Perfect for one of my favorite techniques, masking! First I stamped the three little mice image and used markers and my blender pen to color them up.  Then I stamped the mice again on plain white paper and fussy cut each one out, dabbed a little snail on the back and pressed over the corresponding mouse in the card front.  I stamped my Trees (from Totally Trees) on top and spritzed some going grey re-inker mixed with water over it all.  Not thrilled with the big spots, and I think if I do the card again I will test the sprayer out first until I get a more consistent SMALL dot coverage! After I peeled the masks off, Voila! The mice look like they are marching in front of a forest, or even carrying the trees along with them.   The sentiment also comes with the Merry Mice stamp set.

What would you do for a background for these little merry mice?


Christmas in July Totally Trees

Christmas in July Totally Trees

One more “Christmas in July” card, this one with the “Totally Trees” stamp set which has awesome images of trees for all seasons!  I particularly like this fir tree image because it is so simple and graphic.    I stamped the tree image 4 times with versamark ink and embossed with clear embossing powder.  There is also a “precipitation” stamp in the set, which I interpreted as snow, adding white pen dots inside the images (they are little circles, actually), but I suppose you could call them rain drops too.  The sentiment comes from “Merry Mice” stamp set and the ribbon is the new “Finely Woven Ribbon” in Tranquil Tide.

What would your favorite holiday tree stamp be for Christmas in July?

Christmas in July Colorful Seasons

A few weeks ago I talked about having a “To Go” stamping kit.  Well, I had TO GO to that kit for today’s card because I was away from my studio!  I also had just received my “goodies” from the new catalog – I always order all the paper, inkpads, reinkers and markers from the new colors, along with a stamp set or two and maybe a few of the new embellishments.  So I was well set to make a card, but a Christmas card?…uhhh not so much!  I did have some Dapper Denim cut into card layers, a piece of watercolor paper, Very Vanilla cut into A2 cards, and a Dapper Denim inkpad, a versamark inpad, an empty spritzer, white embossing powder and my embossing gun in my kit.  I also had the Foxy Friends Stamp set – it is so cute and I have been wanting to use it for a while.  I had purchased the new Colorful Seasons stampset which has a couple of snowflake stamps, which I stamped and embossed on the watercolor paper.  Then I spritzed the water color paper with a good drench of water, pressed an acrylic block several times on my Dapper Denim inkpad, spritzed that with water and let it drip onto the watercolor paper, and spritzed the watercolor paper again just to get that blue ink moving all over the paper.  I dried it with the embossing gun and set it under a book to dry flat.  I used the Trees from the Foxy Friends stamp set and stamped with the new Tranquil Tide inkpad, fussy cutting them out.  (I am going to LOVE that Green/Blue shade this year!)  I cut a little banner using a sentiment from Colorful Seasons, and tied a bow using the new Mini Chevron ribbon in Old Olive, and Voila’!  A Holiday Card!  A note about the ribbon – it is one of the nicest ribbons Stampin’ Up! has offered – so soft!  Sadly only 3 colors so far, though (Old Olive, Bermuda Bay, Crushed Curry).  I am definitely going to use this ribbon on some of my sewing projects!

And that’s it!  Another holiday card, “on the go” this time, totally unplanned, but it didn’t take long to come together once I paired the snowflakes with the trees.  Click on the “Shop Online” button to order Colorful Seasons and Foxy Friends if you want to recreate this card – or just about any card – they are both so versatile! …and remember, a $50 purchase will earn a $5 reward to spend in August!

My Paper Pumpkin

The March Paper Pumpkin is just stinkin’ cute! If you have been thinking about getting a subscription, now is the time to sign up for the April kit! In fact, there is a special on a 3-month subscription, AND you will qualify for a free item from the last few days of Sale-A-Bration (through March 31st)! Our 3-Month Prepaid Subscriptions (item 137859) are just $55! The April Paper Pumpkin has been designed by Stampin’ Up’s CEO, Sara Douglas. Make sure you’re a subscriber by April 10 to receive April’s exciting box. Watch this video from Sara to learn more!
What could be more fun than 30 minutes of pure creation each month? Everything you need to make the project is in the box – ink, stamps, supplies and instructions. From Cards to Gifts to Decor – a crafty surprise every time! Are you ready? Contact me to sign up by March 31st to qualify for a free stamp set or other goodies from the Sale-A-Bration catalog.
When will you get your Paper Pumpkin on???

Project Life CARDS! (Sneak Peek)

PL Cards-Have a Snappy Day!Yes, this is a SNEAK PEEK at my upcoming class, Project Life CARDS!  We will be taking apart a project life card pack and making 18 STINKIN’ CUTE cards!  For beginners and seasoned card makers too, we will cover tons of techniques that you will want to use over and over again!  All the materials are included, cardstock, envelopes, Designer Paper, inks and more.  Learn to use copic markers, watercolor paints and Stampin’ Up inkpads to achieve perfect blends of highlights and shadows.  When is this fantastic class, you ask?  Sunday, May 22nd, 1pm-5pm at the Art Gallery of Fell’s Point (1926 Fleet Street, Baltimore, MD  21231).  Cost $70, Early bird $10 off ($60) special through May 8th.  Class size limited to 7, so sign up early to get your spot!

Sign up for the Project Life CARDS! class right here or go to my Classes and Upcoming Events Page 

[feather_share show=”google_plus, twitter, facebook” hide=”reddit, pinterest, linkedin, tumblr, mail”]

BIG Thank You!

BIG Thank YouMy BIG Thank You stamp on a card!  Love how this looks in real life – so glittery 🙂

I embossed the Thank You stamp in gold and then stamped the flower, and colored it with my new fave method – real watercolors!  Somewhere in my travels I acquired a sample card of Daniel Smith watercolors.  Just dabs of dried watercolor paint from the tube on a light cardboard sheet.  I just wet my brush and tap it on the little “blob” of watercolor, and voila!  – brush the watercolor on my image.  I’m still experimenting with layering colors and light and shadows, but I love the look!  This isn’t even watercolor paper – it’s Stampin’ Up’s Shimmery White, my go-to card stock for card fronts or fussy cut images.  I stamped the flower again on plain paper and cut it out to mask the flower, then spritzed the background with Smooch Spritz colors (love the shimmer!!!).  That purple was a little overwhelming, but I soaked a bunch up with a paper towel right after I spritzed.  I also wiped off the “thank you” portion with a damp paper towel when everything had dried so the gold would stand out.  Peel the mask off the flower and there you have it!  Do you have someone to send a BIG Thank you to?  Message me or click on the link to my online store to get your own “Another Thank You” stamp set.  I know I will definitely be using this BIG Thank You stamp again!

Sheltering Tree Spring Card

IMG_2377
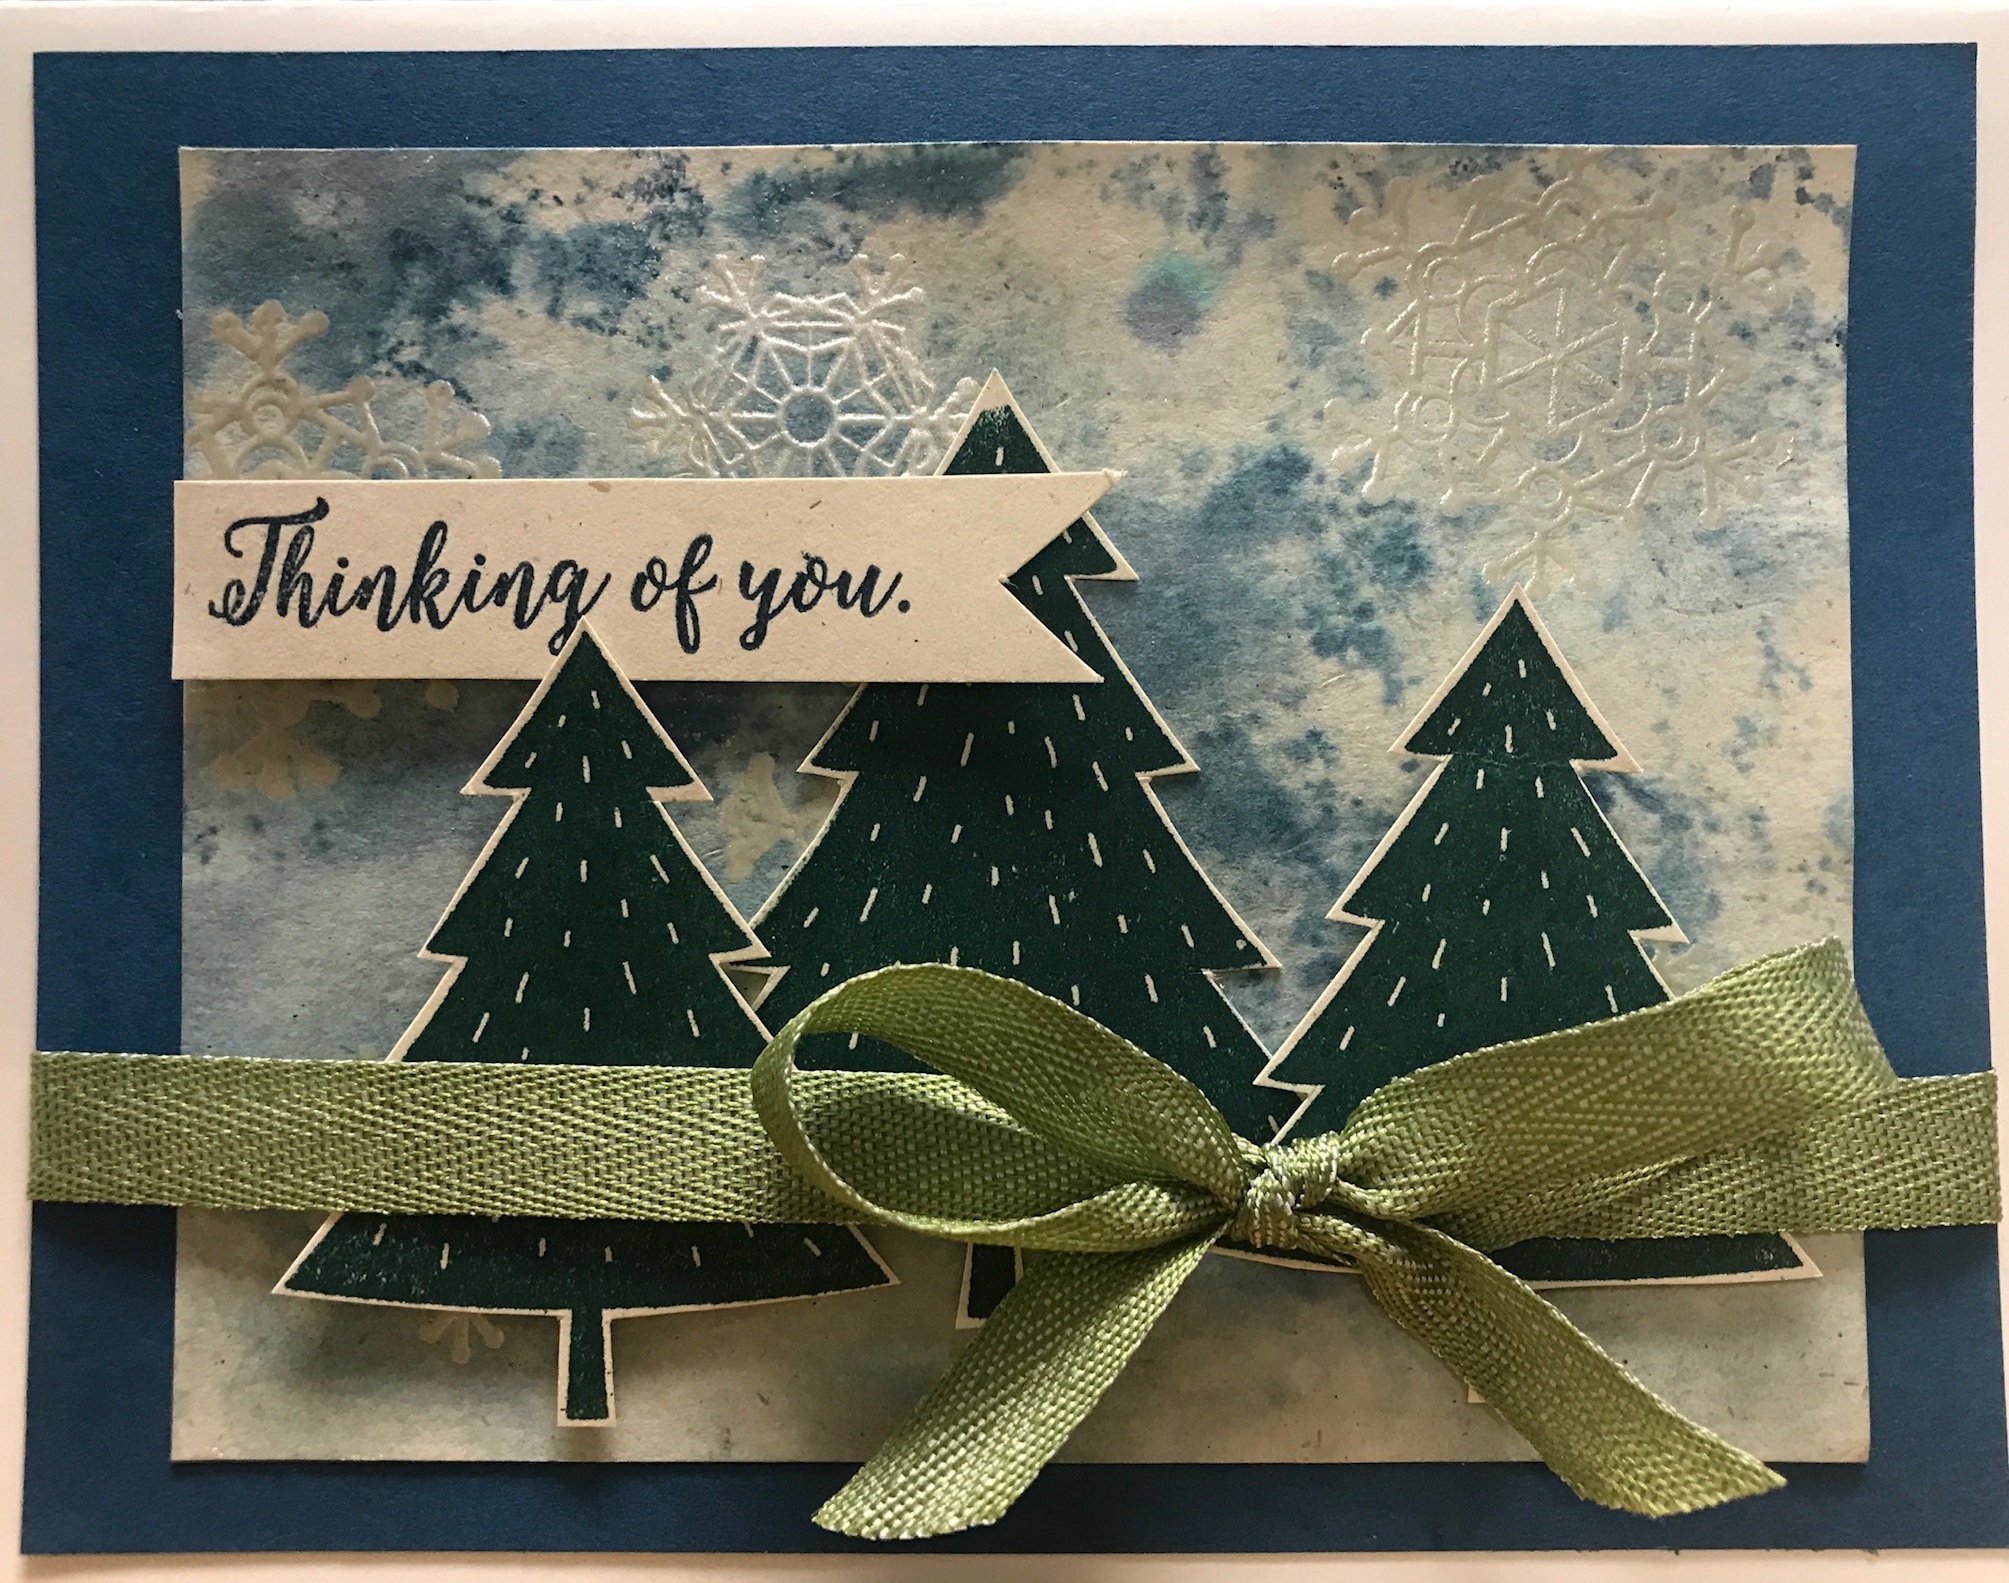
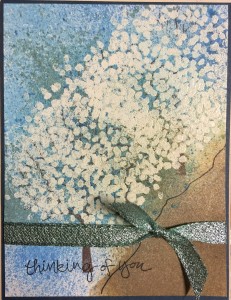
I was so inspired by a photo this week of the trees in bloom, that I created a Sheltering Tree Spring card!  By inking the “leaves” stamp with Versamark and heat embossing with white embossing powder, I created a “resist” that I could spritz several blue inks over and wipe off the embossed portion so that the inks show up as a background.  This makes a simple one-layer card with a 3-D look!  A little sparkly ribbon (Pool Party 3/8″ Glitter Ribbon 140561 10 yds/$5.50-Occasions Catalog) to finish it off!  Lots of options with this stamp set for EVERY season!  Visit my online store by March 31st to take advantage of Sale-a-bration – earn a free stamp set, paper or embellishment for every $50 in orders.  Make your own set of Sheltering Tree Spring Cards to send or give as a gift!

Sheltering Tree Inspiration

Sheltering Tree is a stamp from the Annual Stampin’ Up! Catalog – I was reminded of this stamp when I wasSheltering Tree Inspiration
driving today on N. Charles Street in Baltimore – the trees are in BLOOM and are soooo beautiful!  I immediately thought about how I could recreate these beautiful trees on a card using the Sheltering Tree stamp set.   Stamp the tree base in Early Espresso (on my favorite card stock, Shimmery WhSheltering Tree
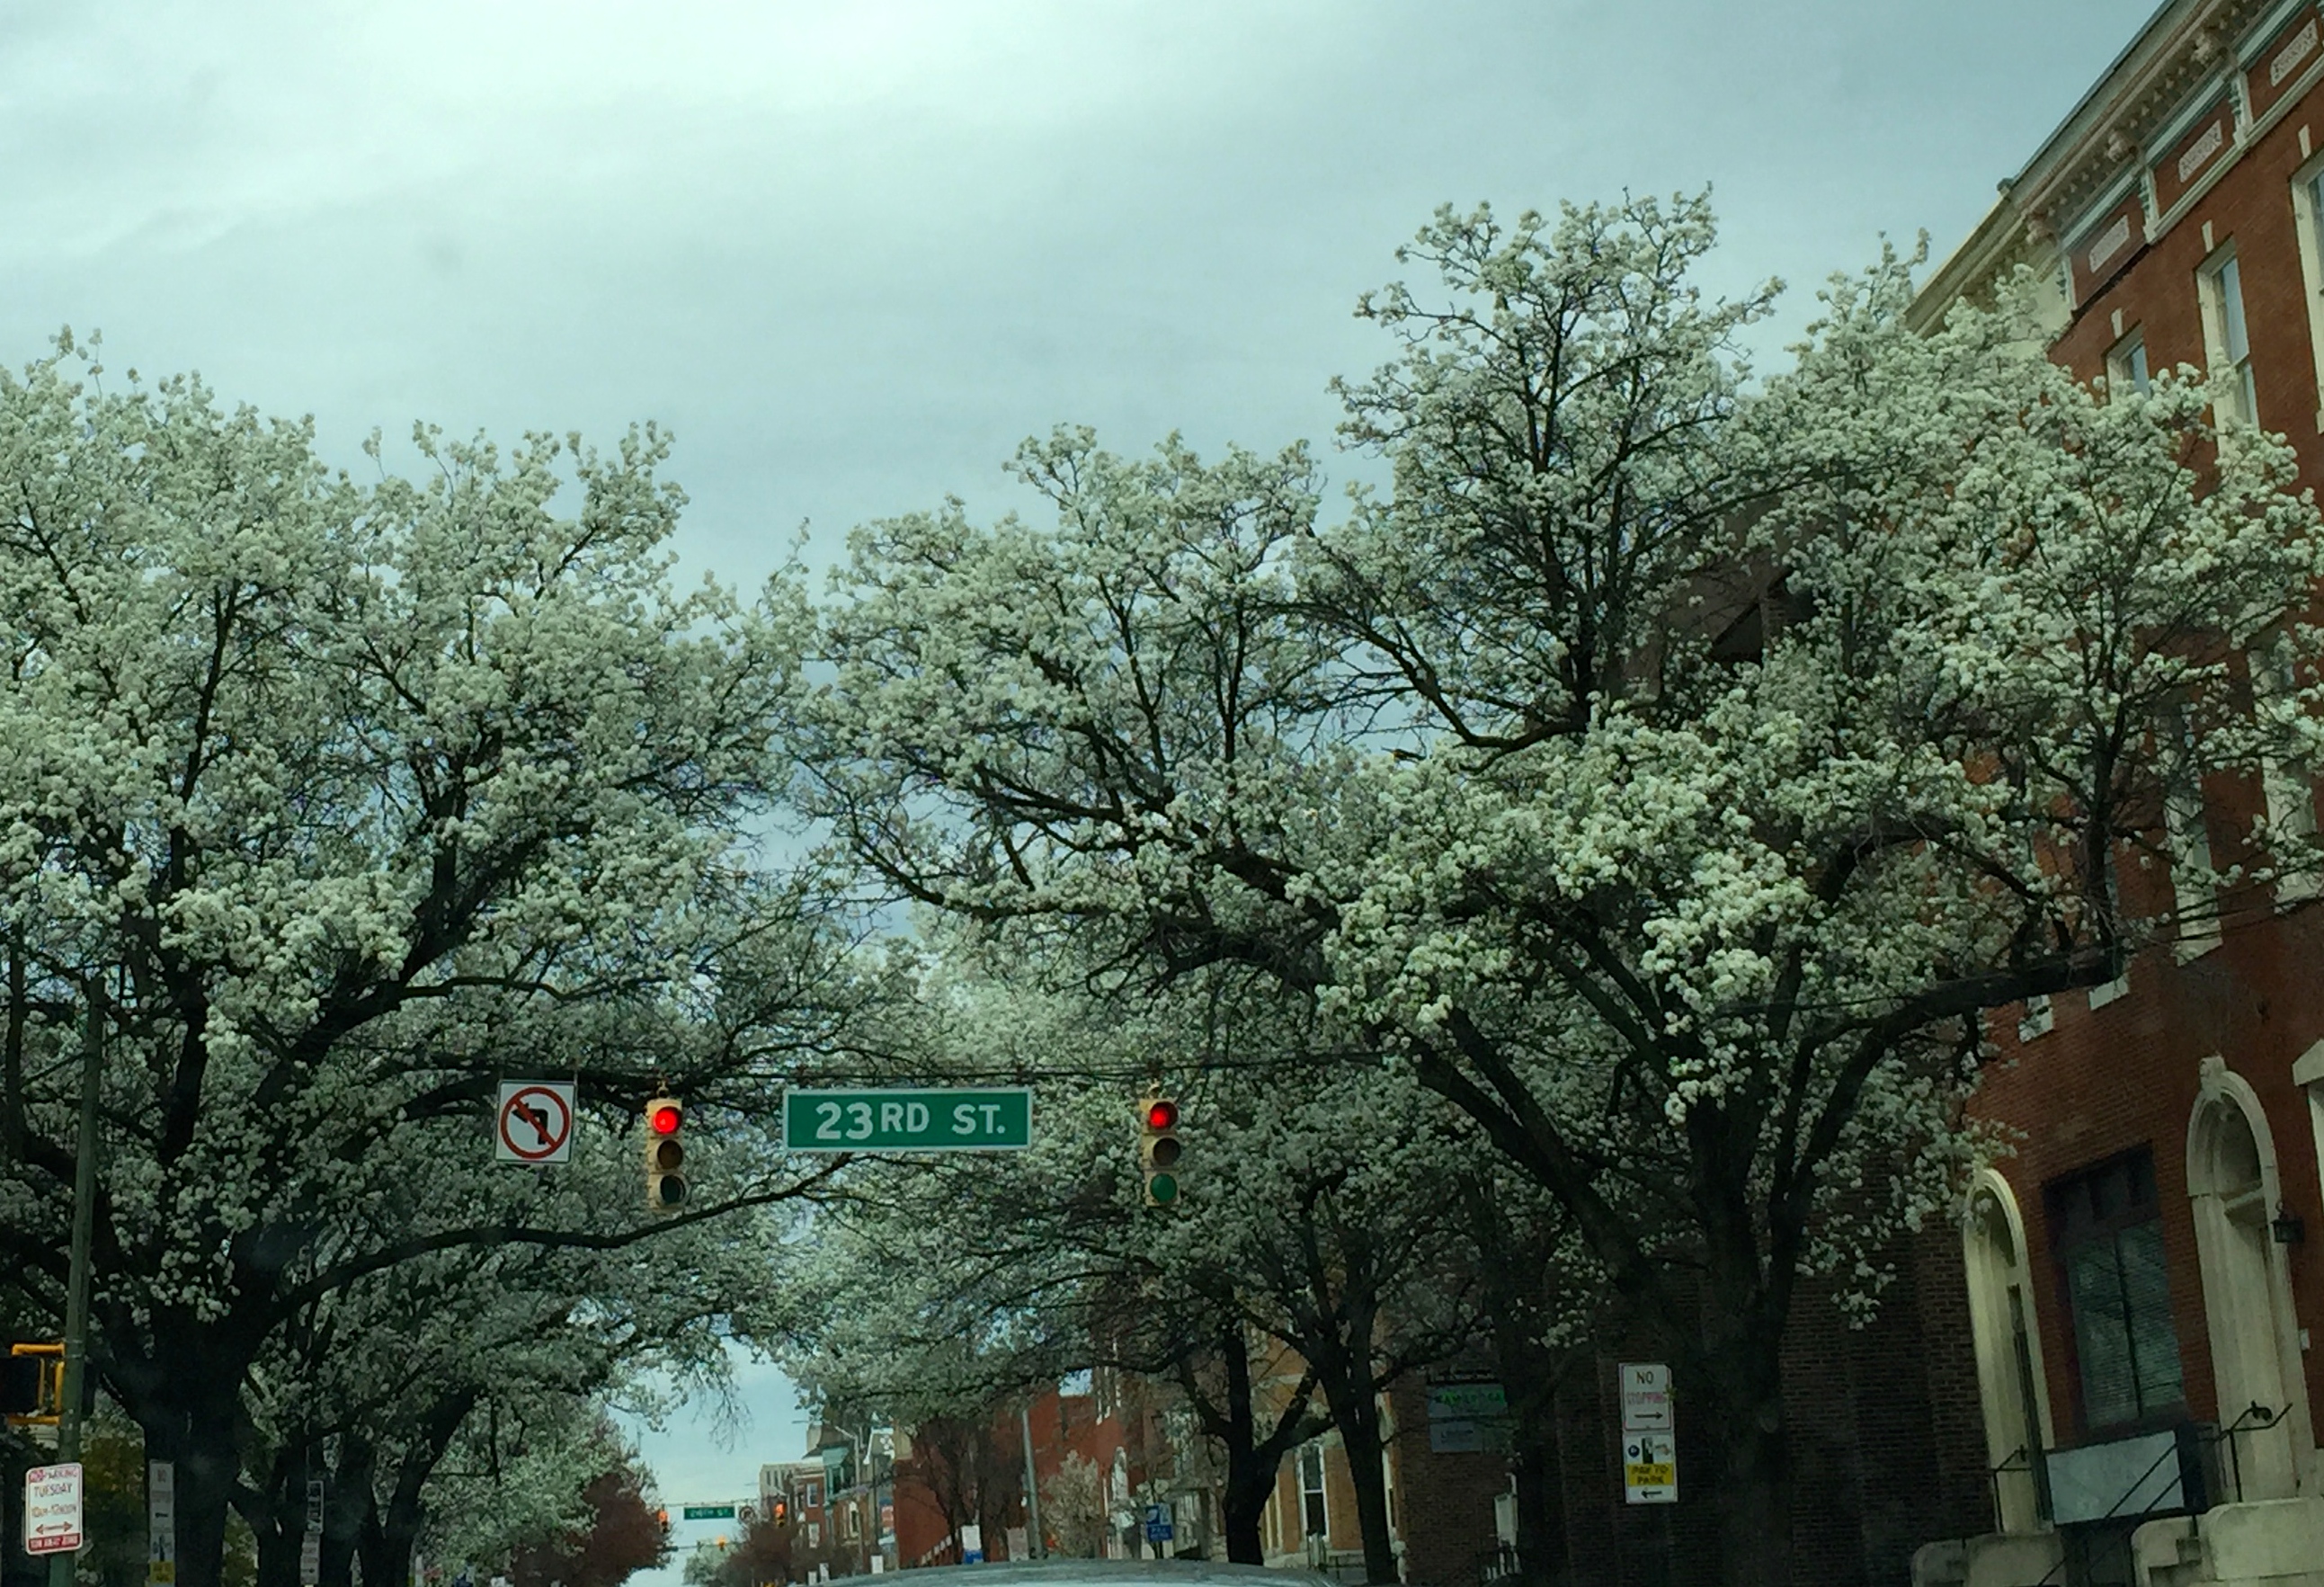
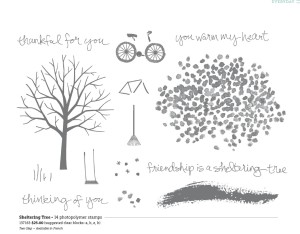
ite), stamp the “leaf” part in versamark ink and emboss with white embossing powder.  Either leave the background plain or spritz or lightly sponge the background with several blues.  The embossing powder will resist the ink and the blue will just show in the background.

White Embossing Powder

While this stamp is in the Annual Catalog, you can STILL order it (Photopolymer $25), along with Shimmery White paper ($8/10 sheets), White Embossing Powder ($5), Early Espresso Inkpad ($6.50), Versamark Inkpad ($7.50) and with your $52 order, get a FREE item from the Sale-a-bration catalog through March 31st!  Spring is officially here!  Is there a “Sheltering Tree Inspiration” in your yard or your travels this weekend?


Rose Wonder Sympathy

Rose Wonder SympathyRose Wonder stamp set, a new stamp in the Occasions Catalog, is a beautiful, BIG image that lends itself to so many inking possibilities!  For this card, I used my copic markers, which I love for their ability to blend.  There are soooo many colors (and I am a color FREAK!) It’s hard to believe how many markers I used for the rose and leaves!  I stamped the image again on a sheet of copy paper and fussy cut around it to create a mask, then covered the whole thing with a mesh bag from some oranges and sponged with Lost Lagoon.  I spritzed with some gold smooch spritz and splattered some Night of Navy, removed the mask and popped the Sympathy sentiment from the same stamp set.  The huge number of sentiments that come with this stamp set are perfect for so many occasions!  You have until May 31st to order this stamp set (which also has matching dies), but only until March 31st to order and get FREE merchandise from the Sale-a-bration catalog!  No time to lose – You will LOVE the Rose Wonder stamp set all year long!