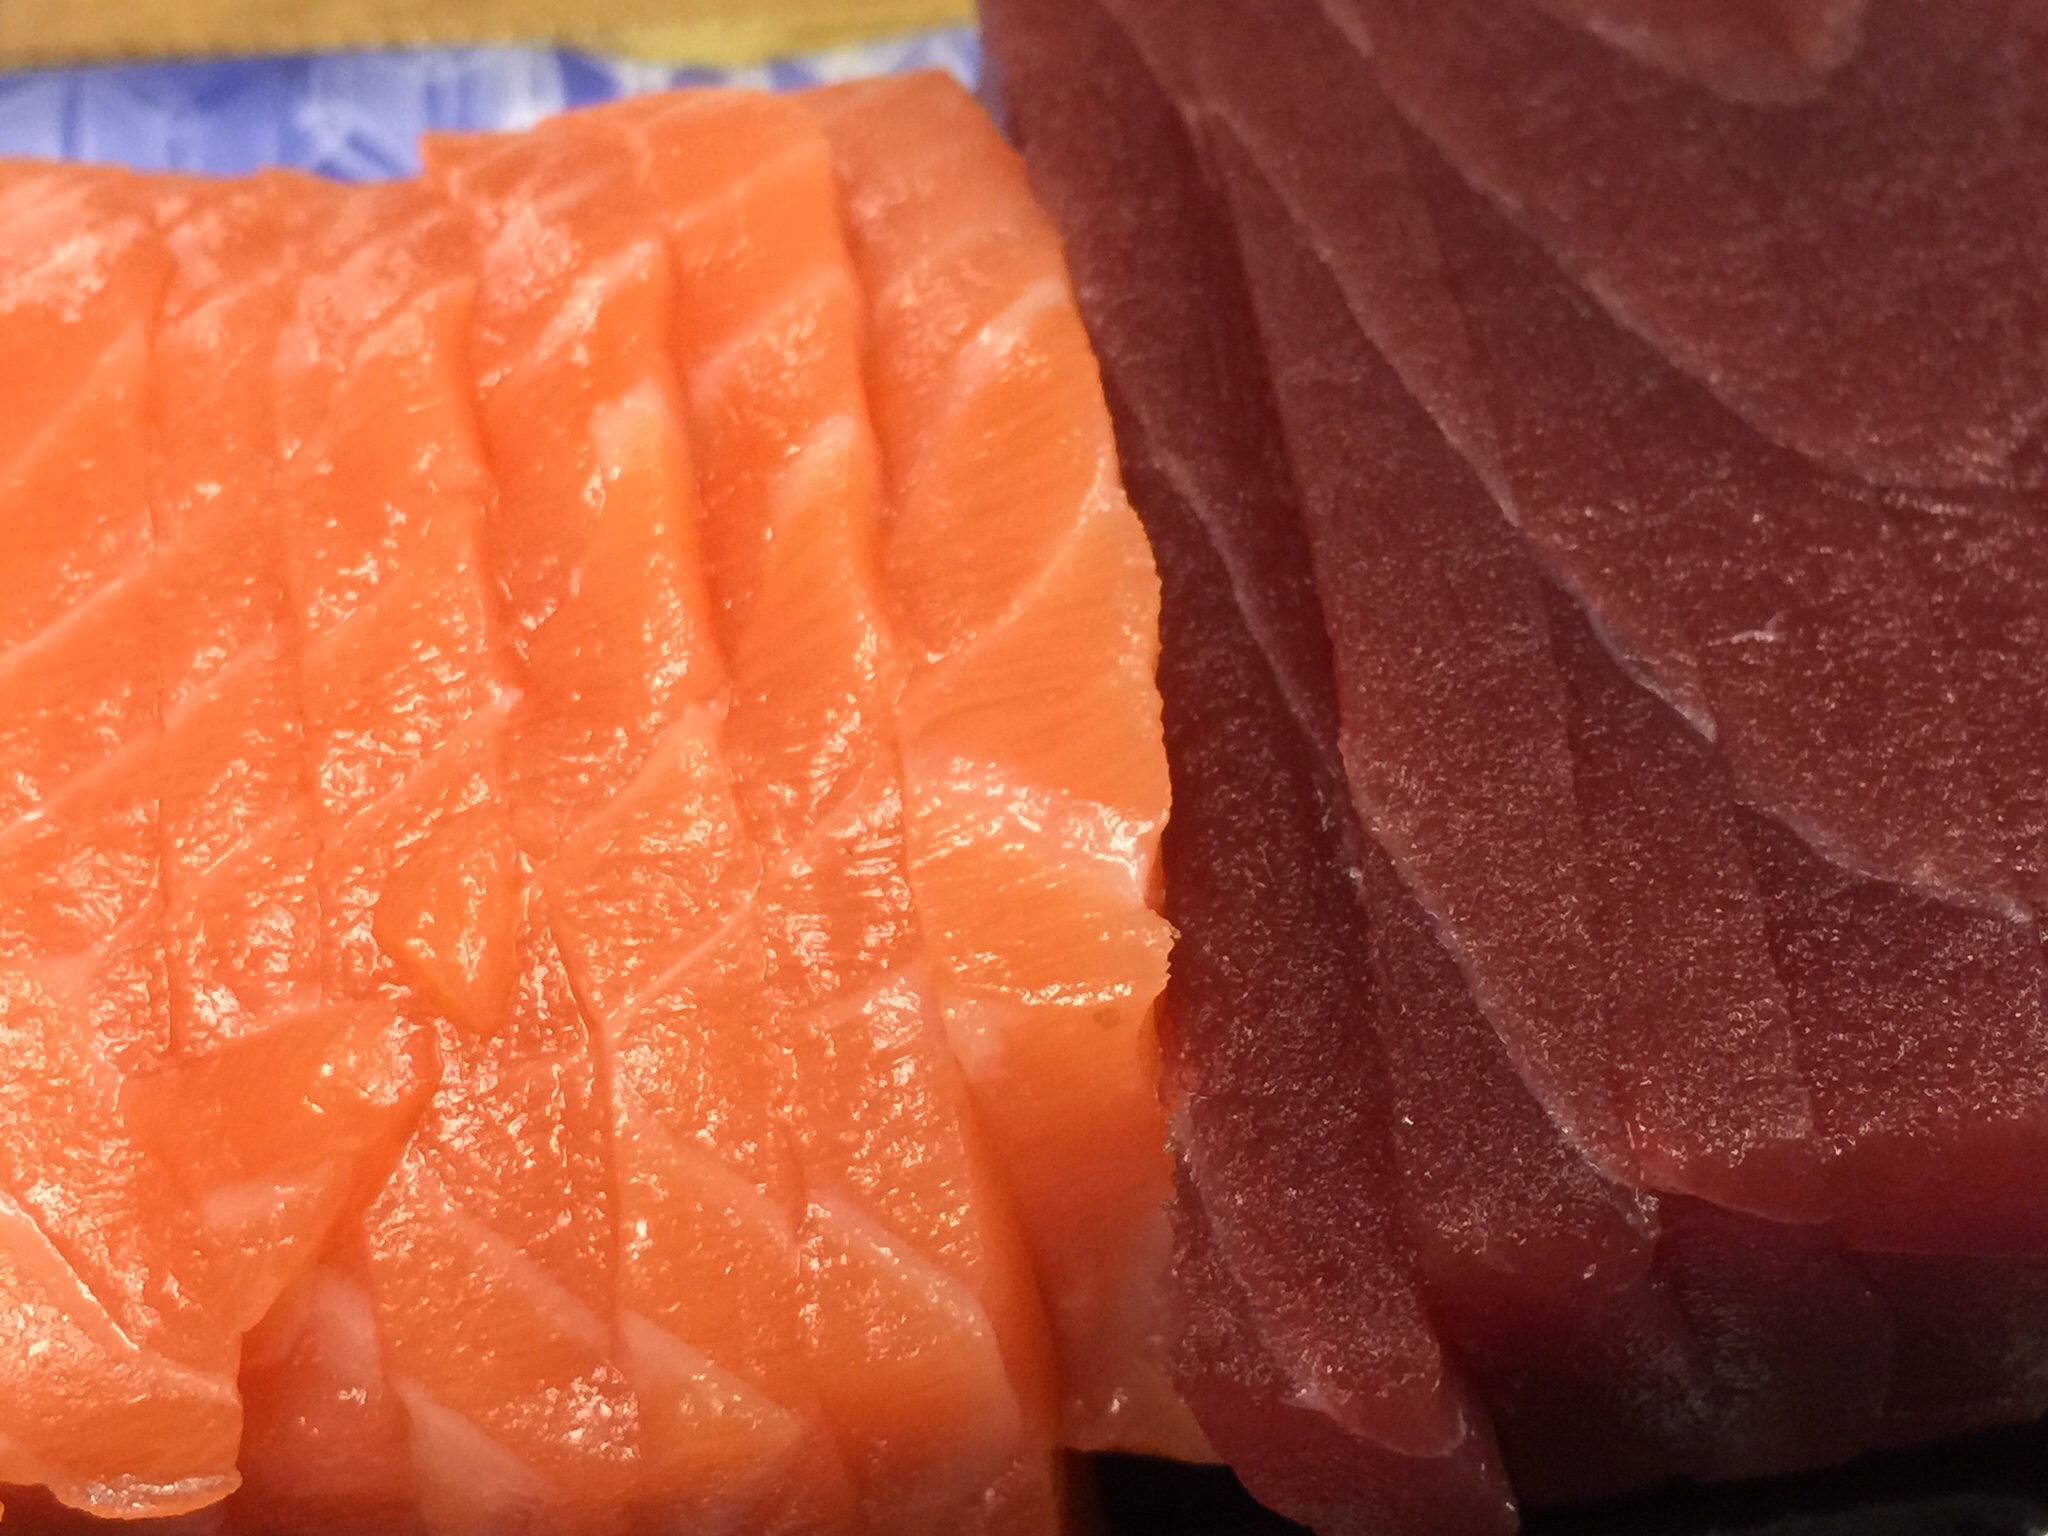
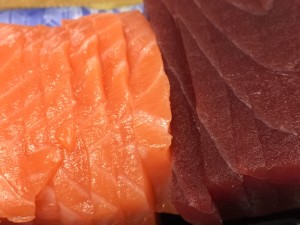
 Last June I embarked upon a new journey, food-wise. Up until then, I was consuming 2 Venti latte’s plus at least a 2-liter bottle of diet coke daily- and NO water (good grief there is plenty of water in diet coke isn’t there?). I had been eating a somewhat vegetarian (including eggs, cheese, milk products and fish) diet for over 40 years, and was generally healthy, but the pounds had slowly mounted up and I was just not happy about the weight, the caffeine, or the fake sweeteners. So with some inspiration from the guys at work who were eating raw every other week, I decided to try it. That first weekend with no caffeine was pretty brutal, but I stuck with it and lost about 10 lbs the first couple of months. Plus I was off all caffeine, sugar, fake sweeteners, and milk products, and drinking LOTS more water. I was feeling pretty good. Then I discovered raw cashews. Let’s just say that the weight loss came to a screeching halt (yup I was grazing through 3-4 lbs of exPENsive cashews every week). Ok, had to give those up, too. So now I am losing weight again. To get the all-important protein quota each day, half is coming from protein-based Naked juices (which I make a 50/50 mix with the Naked Juice Green Machine) and the other half from sashimi – the raw fish they sell at sushi counters. I have an orange and a slice of Ezekiel Flax Seed bread with a dollop of natural honey for breakfast, naked juice for lunch and sashimi for dinner. If I am hungry later, I’ll have another Naked juice mix. And to be perfectly honest, I still have a Venti Latte’ every day, but now they are Decaf, Soymilk and only 105 degrees. This past summer, I was making my own juices using a Nutri-bullet juicer (that thing is FABulous), but by late fall I found the quality of the fruit and veggies I was juicing went way down at the grocery store, so I switched to the Naked Juices.
This journey has had it’s bumps along the way – mostly figuring out what was considered “raw” and where I could get it. It has not been CHEAP either! One bag of “raw chips” cost me $8.00! (Won’t be buying another at that price.) Sashimi is at least $10 a day. Organic fruit at the grocery store? – more expensive and sometimes a lot worse quality and smaller too. Sheesh! I was invited to several parties over the holidays – I had to bring my own dinner (although there were some salads I could eat). Is it worth it? I would have to say, over all, yes it is. I crave the fish every day and I know when I need to drink more water (which I still don’t “savor”, but I don’t mind so much any more). I was losing about a pound a week without exercise, and I have just started a fitness challenge at the health club, so maybe a few more pounds down and certainly a more muscular physique. 12 weeks – I’ll keep you posted on my progress. This week (week 1) – weight 155, 35% fat (actually a LOT better than I expected).
Needless to say, this isn’t the diet for everyone. But I do much better with fewer choices, and I just.feel.better. Have I been perfect? No. Food is my go-to salve when stress is making me crazy, so PERHAPS a western fry or mini kitkat has passed over my lips, just sayin’. But sugar and frying oils are not my friends any more and my “falls from grace” are short lived, thank goodness!
Is it time for you to examine YOUR diet? Aspartame, caffeine, sugar-loading and chip bingeing could be affecting your health in more serious ways then just the extra calories or energy boost. You might be surprised at the energy level you can maintain by eliminating the peeks and valleys caused by depending on chemicals, additives and artificial foods.
Have I piqued your curiosity? If so, you can join me at the sushi bar!


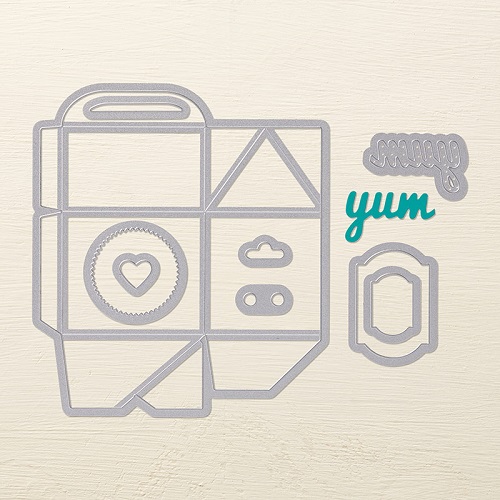
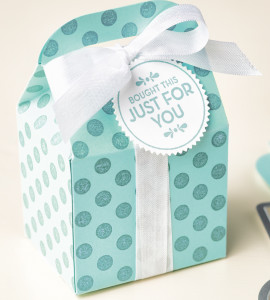 Boxes. There are so many options with this box! You can make it from Designer Paper, Stamp on plain card stock, even emboss on vellum! You can cut a window in the box with the included dies, and glue a bit of clear acetate or plastic inside to see the goodies. I’m hungry just thinking about it!!!
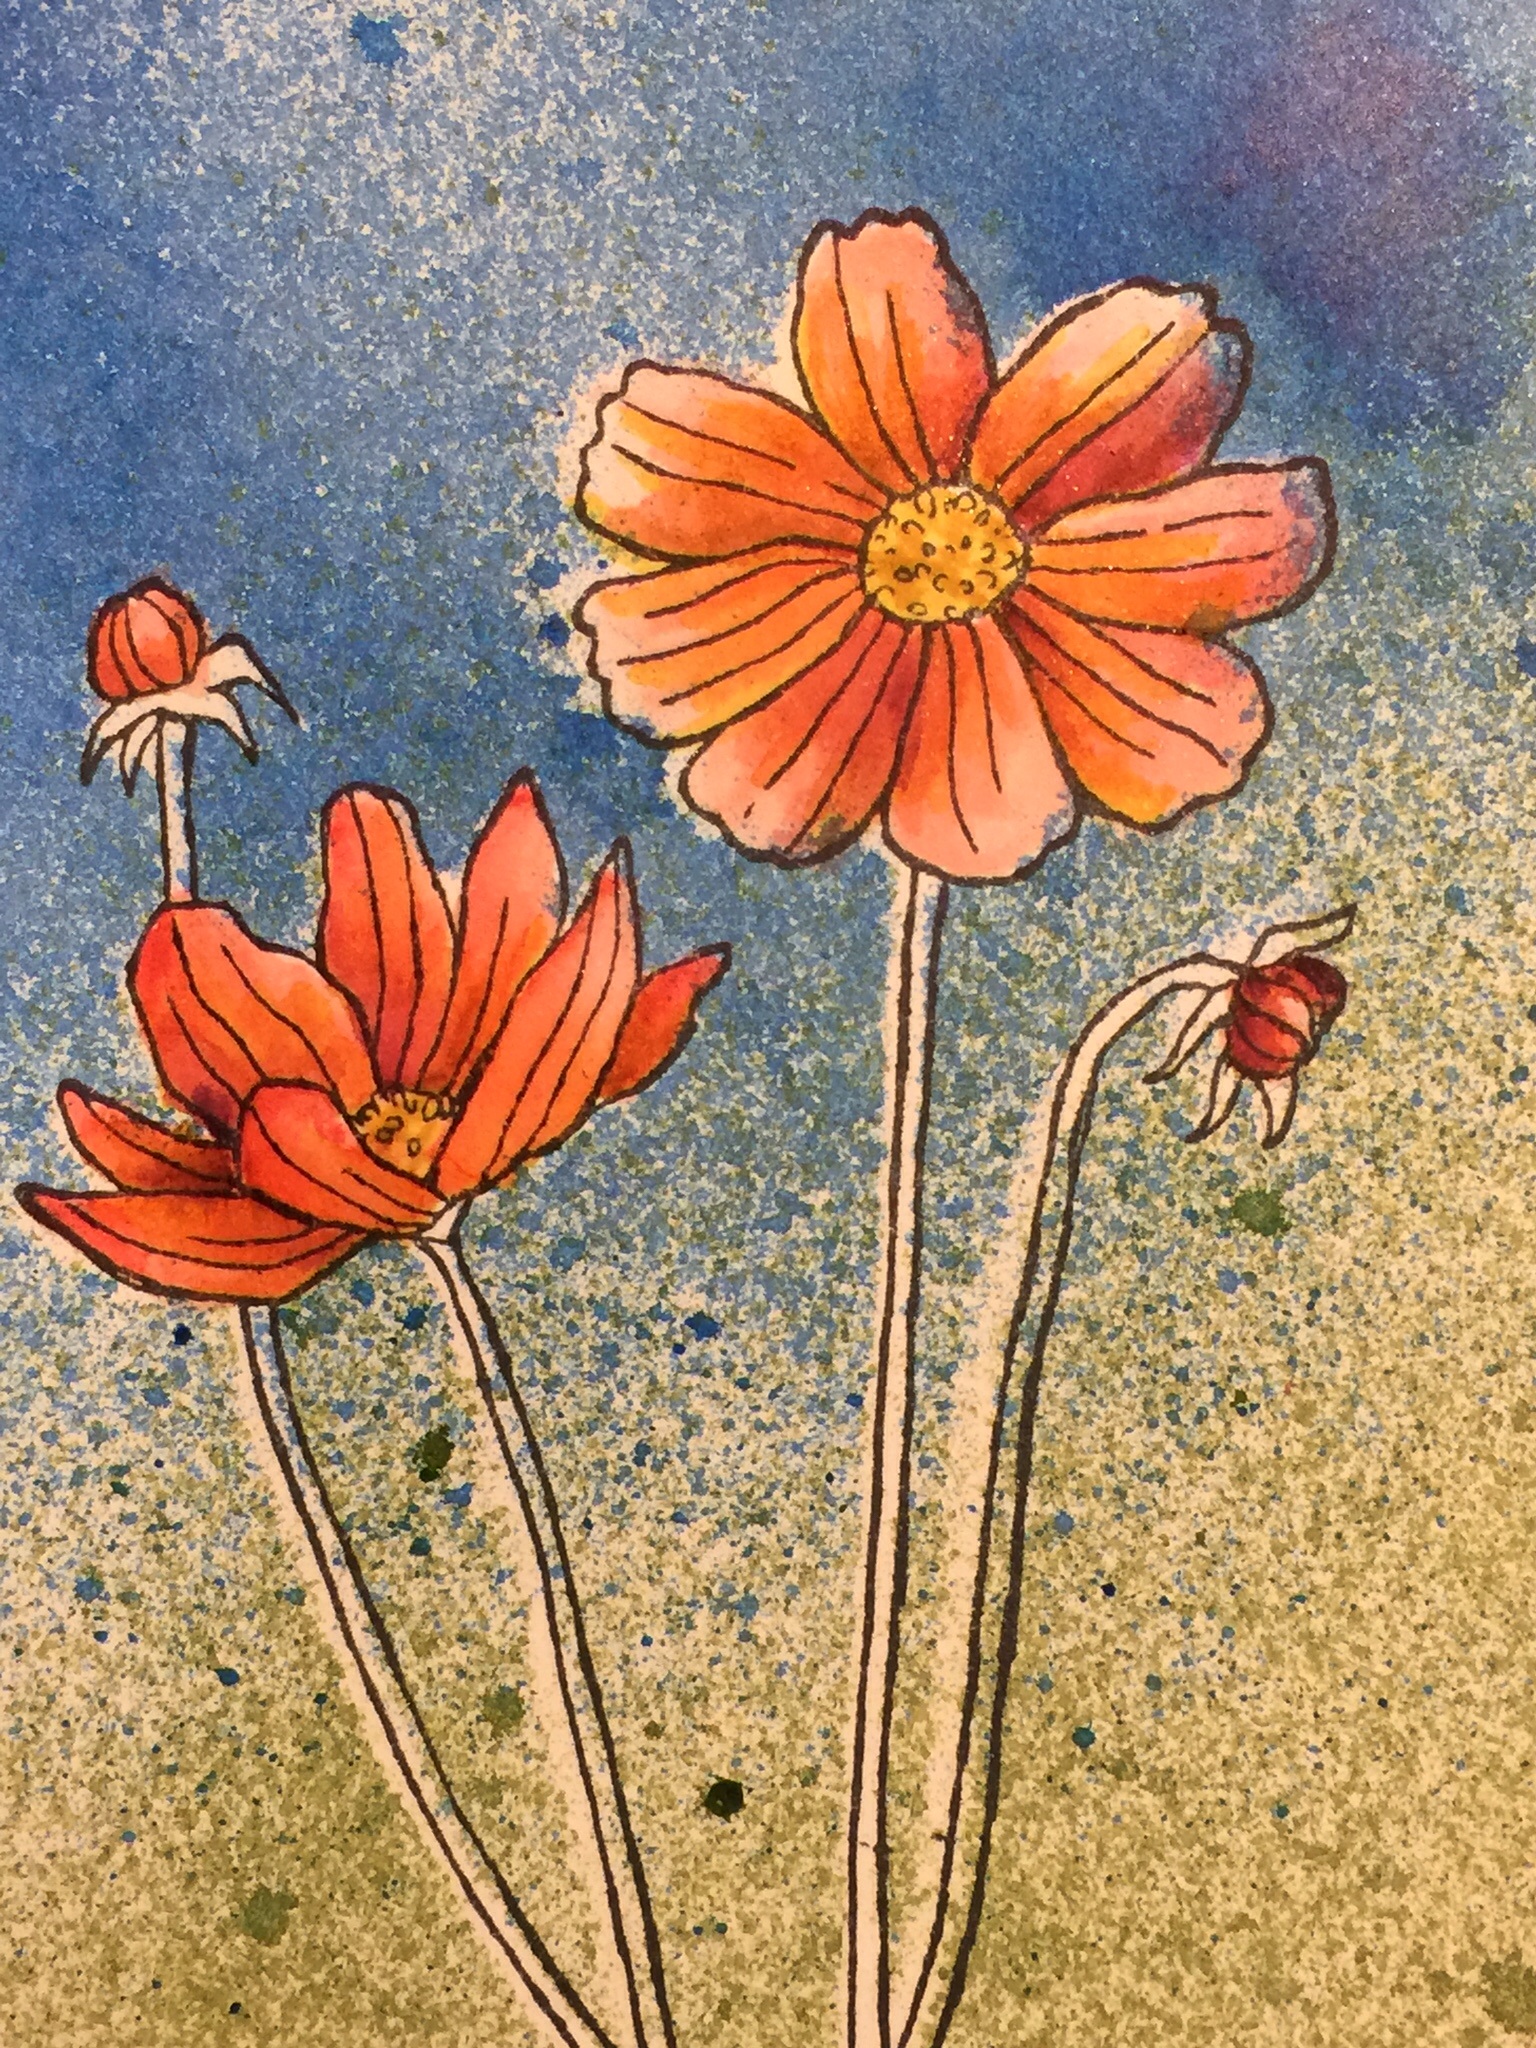

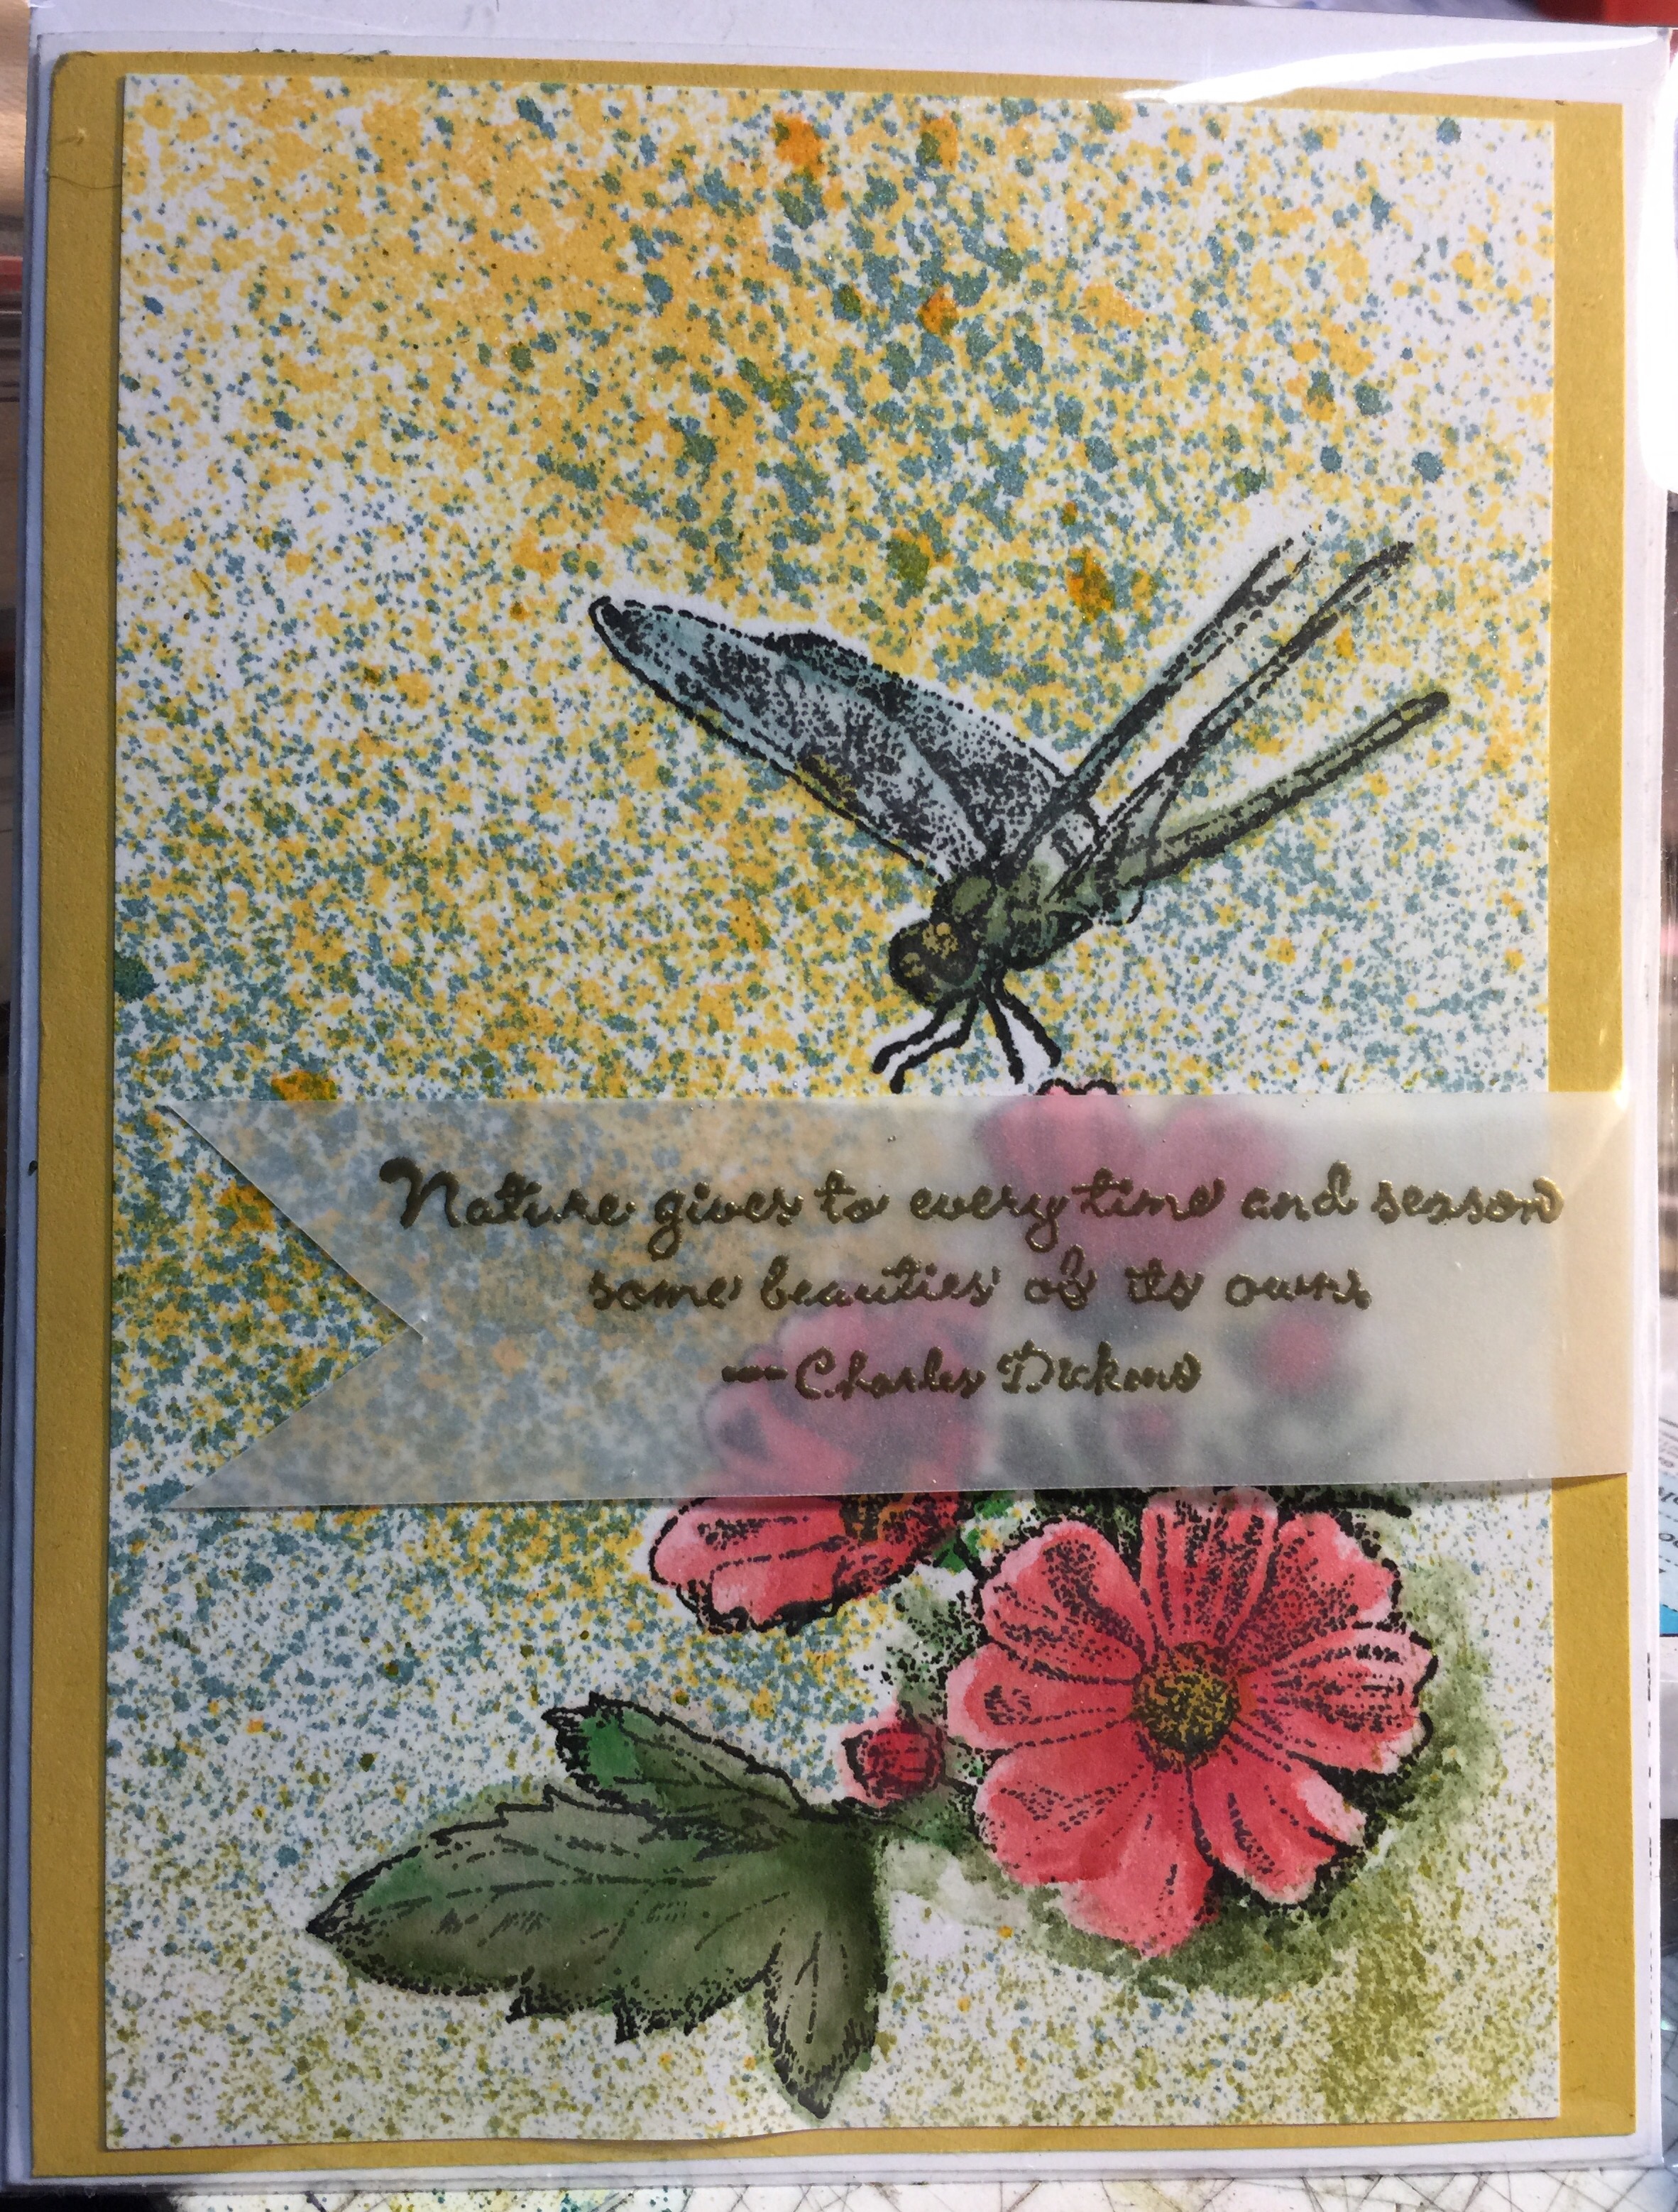
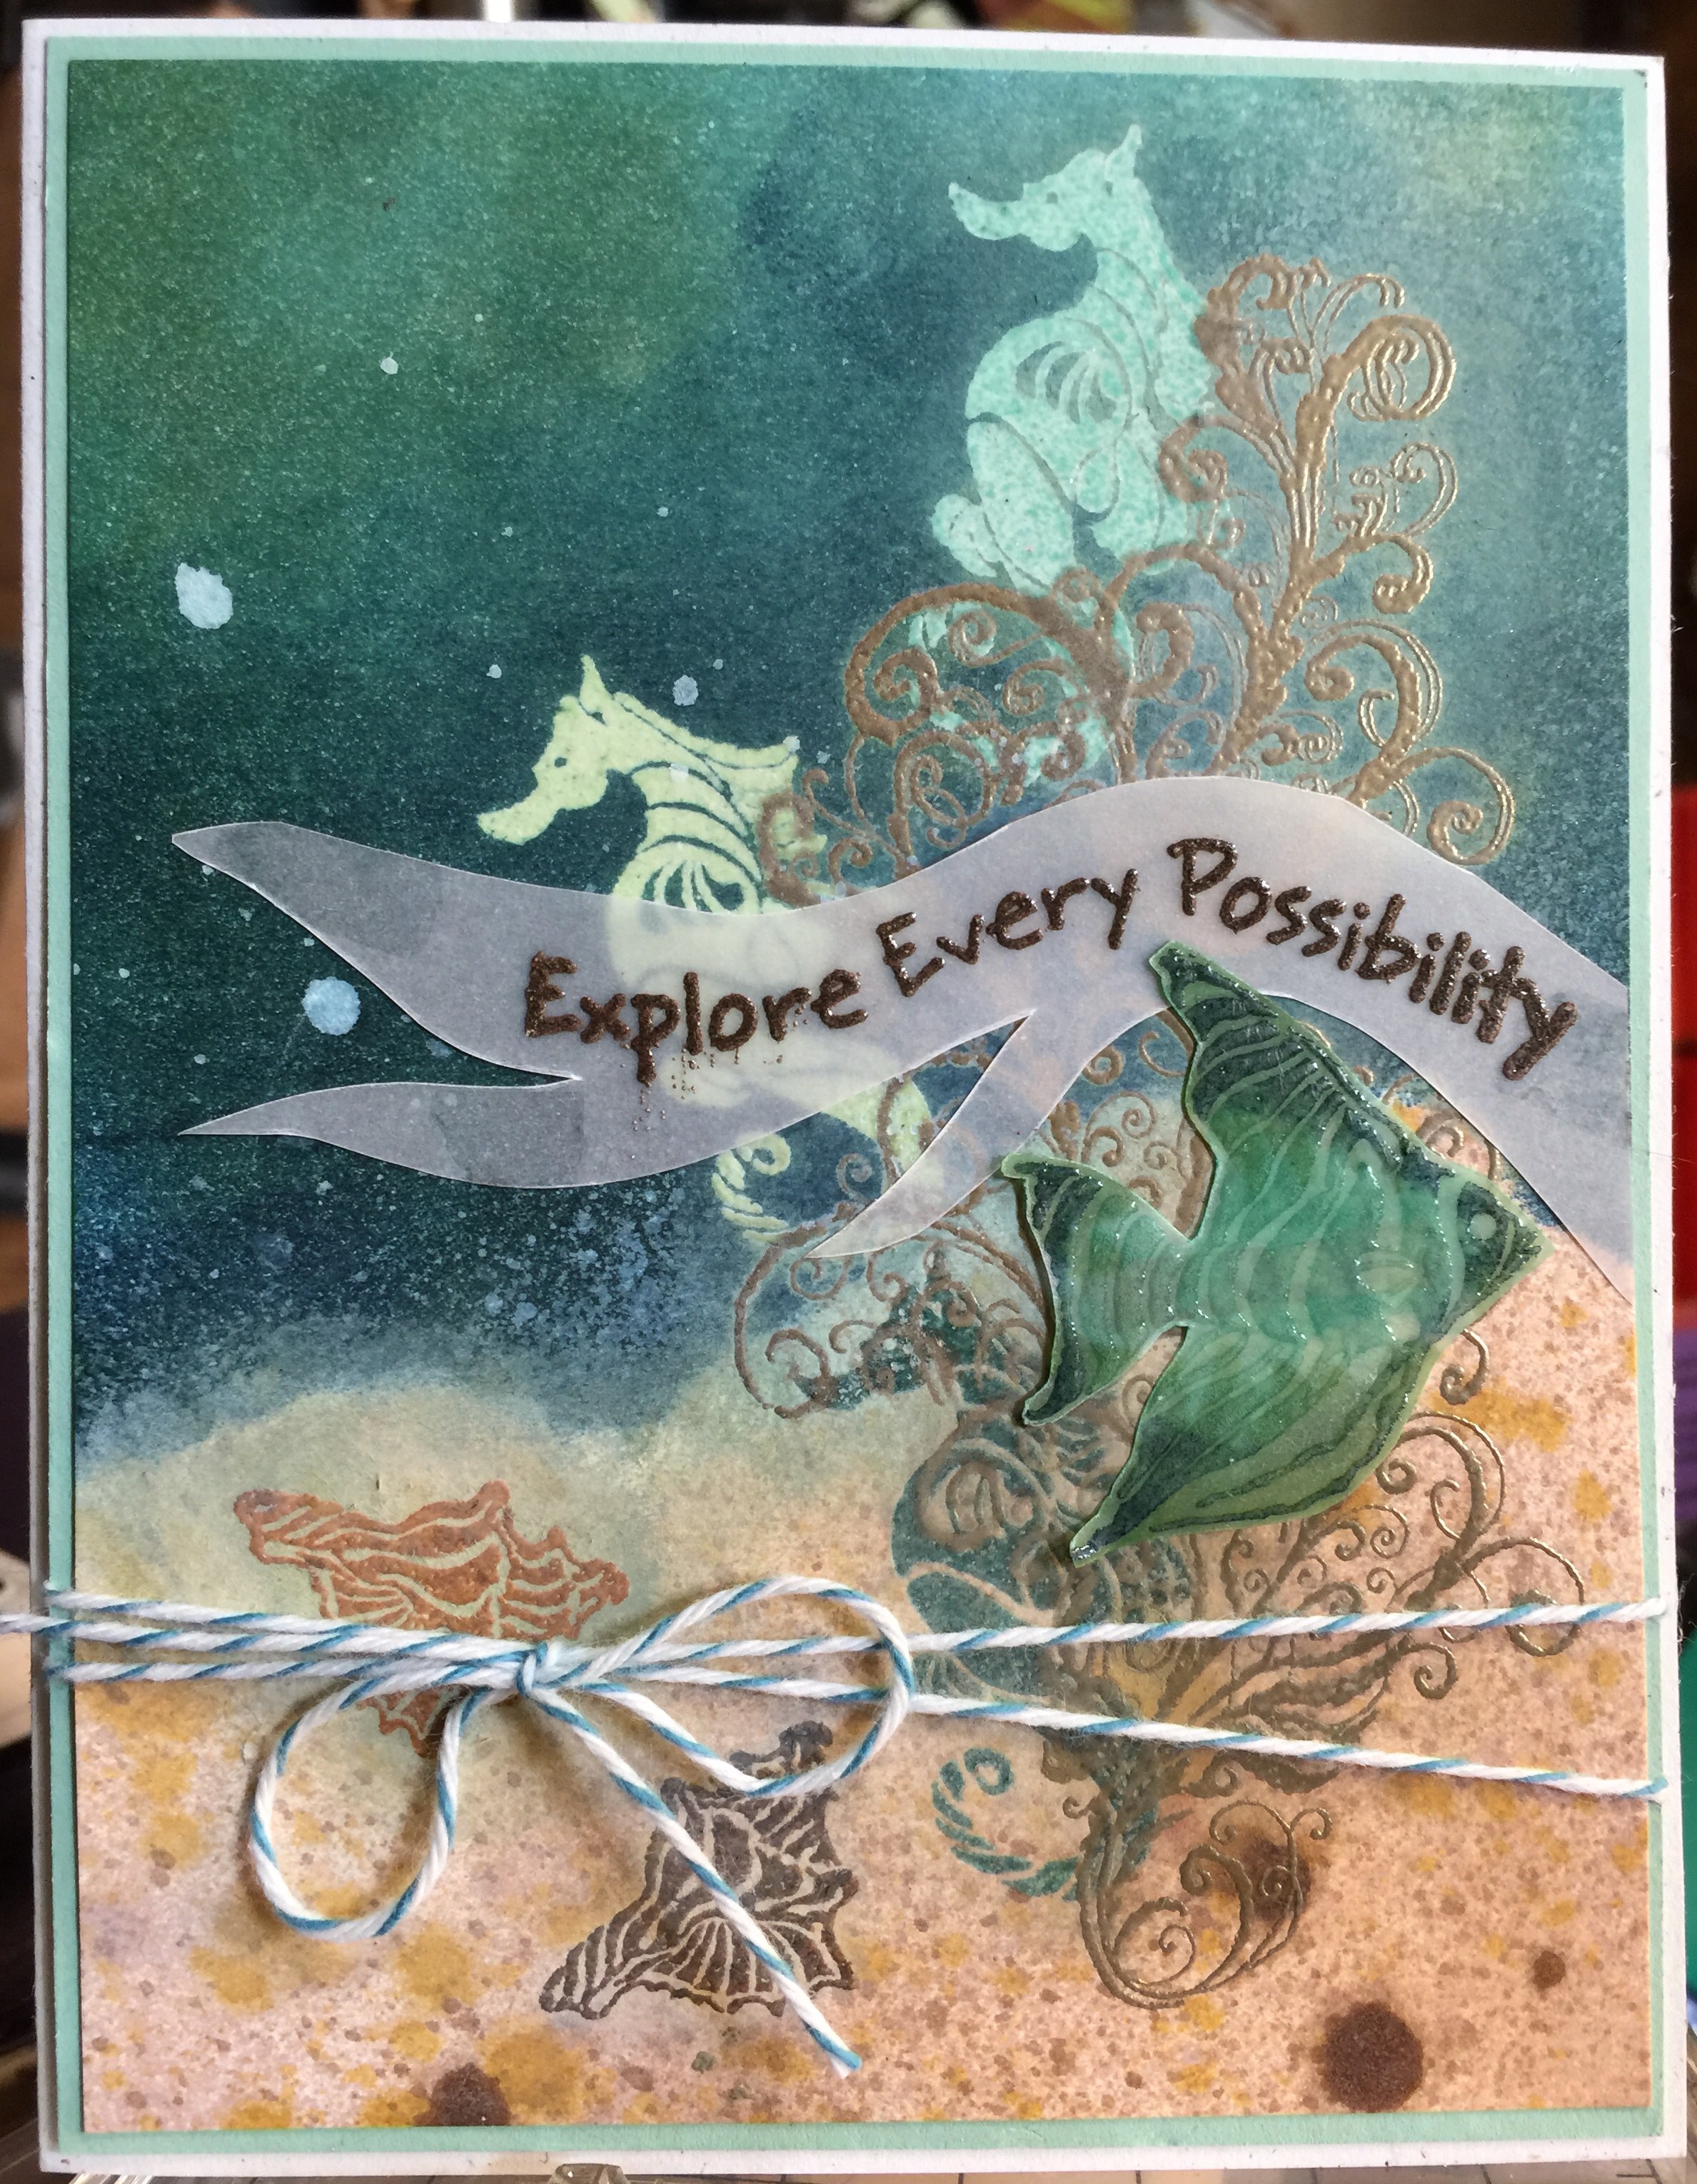
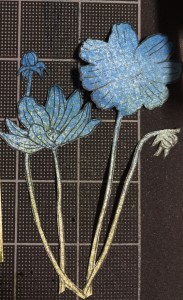 from the Helping Me Grow brand new stamp set in the new Occasions Catty. Then I stamped it again on my favorite paper (Shimmery White), placed the cut-out on top and spritzed with a couple different Smooch Spritz’s. Clearly I was not worried about keeping the underneath image pristine, because I will be coloring and layering colors on top and often the serendipity of my “sloppiness” will actually enhanc
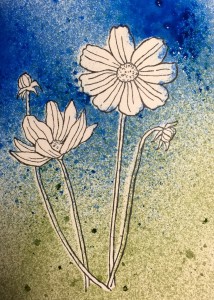 e the final image. This coloring challenge is all about going out of your “safe” coloring zone and using OTHER coloring products in your stash.